Rubber Plant Care Guide: Everything You Need to Know
Caring for a rubber plant can be a rewarding experience, bringing a touch of tropical beauty into your home. Native to Southeast Asia, these plants are known for their large, dark green leaves and ability to grow into small trees with proper care.
This comprehensive guide is designed to provide everything you need to know about caring for your rubber plant. From understanding the plant’s natural habitat to troubleshooting common problems, we’ve got you covered. Whether you’re a beginner or an experienced plant enthusiast, our tips and techniques will help you keep your rubber plant healthy and thriving.
Key Takeaways
- Understand the natural habitat and needs of your rubber plant.
- Learn how to provide the right lighting and watering conditions.
- Discover techniques for maintaining humidity and temperature.
- Find out how to fertilize and prune your rubber plant for optimal health.
- Troubleshoot common issues that may arise with your rubber plant.
Understanding the Rubber Plant
The rubber plant, known for its striking foliage, has been a favorite among houseplant enthusiasts for decades. To provide the best care for this beloved plant, it’s essential to understand its origins, popular varieties, and growth habits.
Origin and Natural Habitat
The rubber plant, or Ficus elastica, is native to Southeast Asia, where it thrives in the tropical rainforests. In its natural habitat, the plant can grow up to 100 feet tall, but when grown indoors, it typically reaches a much more manageable height of around 8 feet. As a quote from a renowned botanist states, “The rubber plant is a testament to the diversity and adaptability of plants in tropical regions.”
“The rubber plant is a versatile species that has adapted to various environments, making it a popular choice for indoor gardening.”
Royal Botanic Gardens, Kew
Popular Varieties of Rubber Plants
Several varieties of rubber plants have gained popularity among plant enthusiasts. These include:
- Ficus Elastica Burgundy
- Variegated Rubber Plant
- Ficus Elastica Tineke
Ficus Elastica Burgundy
The Ficus Elastica Burgundy is known for its deep red leaves, adding a pop of color to any room. This variety is particularly striking when placed in a well-lit area, as the light enhances the color of its leaves.
Variegated Rubber Plant
The Variegated Rubber Plant features leaves with striking white and green variegation, making it a unique addition to any indoor space. Its variegated leaves require slightly more light than other varieties to maintain their color patterns.
Ficus Elastica Tineke
Ficus Elastica Tineke boasts leaves with a mix of green and creamy white colors, offering a subtle yet elegant appearance. This variety is ideal for those looking for a more understated rubber plant.
| Variety | Leaf Color | Lighting Needs |
|---|---|---|
| Ficus Elastica Burgundy | Deep Red | Bright, indirect light |
| Variegated Rubber Plant | White and Green | More light required |
| Ficus Elastica Tineke | Green and Creamy White | Bright, indirect light |
Growth Habits and Characteristics
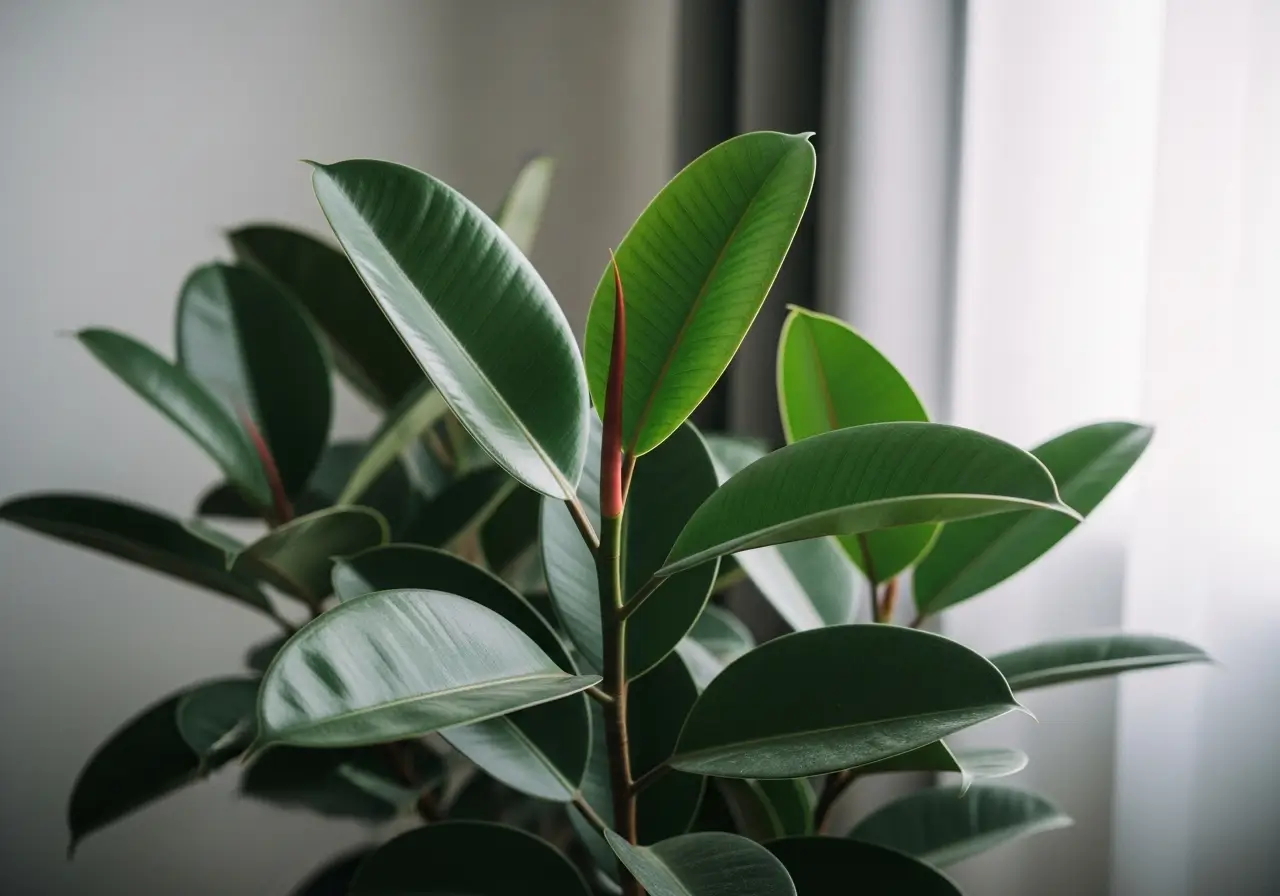
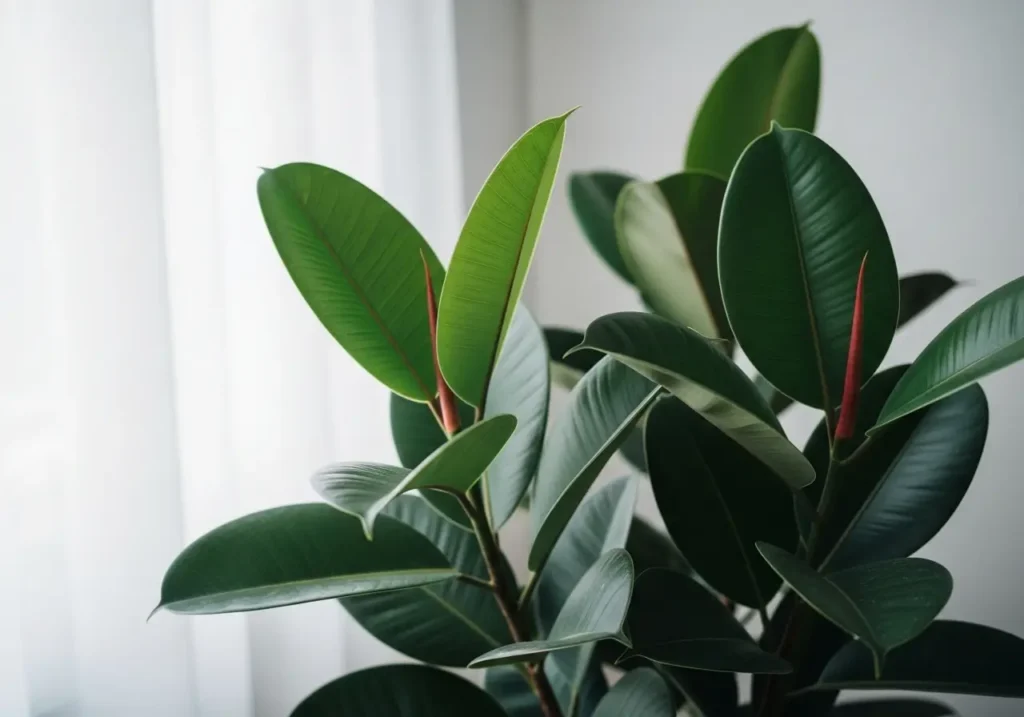
Rubber plants are known for their large, dark green leaves that can grow up to 12 inches long. They are relatively low-maintenance and can thrive in a variety of lighting conditions, although they prefer bright, indirect light. As shown in the image below, the leaves are a key feature of the plant’s appeal.

Understanding the growth habits and characteristics of your rubber plant is crucial to providing the best care. By recognizing the specific needs of your plant, you can tailor your care routine to ensure it thrives.
Essential Rubber Plant Care Requirements
To keep your rubber plant thriving, it’s crucial to understand its essential care requirements. Providing the right conditions is key to maintaining its health and promoting growth.
Light Requirements
Rubber plants prefer bright, indirect light. Direct sunlight can cause leaf scorch, so it’s essential to filter the light, especially during peak hours.
Ideal Light Conditions
The ideal light condition for rubber plants is bright, indirect light. Placing them near an east- or west-facing window is perfect. You can also use a sheer curtain to filter direct sunlight.
Signs of Inadequate Light
If your rubber plant is not getting enough light, it may exhibit signs such as leggy growth or pale leaves. On the other hand, too much direct light can cause leaves to become scorched.
Watering Needs
Watering is a critical aspect of rubber plant care. Overwatering can lead to root rot, while underwatering can cause leaf drop.
Watering Frequency
The frequency of watering depends on the season. During the growing season (spring and summer), water your rubber plant when the top inch of soil feels dry. During the dormant season (fall and winter), water only once every 2 to 3 weeks.
Water Quality Considerations
Using room temperature water is best for rubber plants. Cold water can shock the roots, while tap water may contain high levels of chlorine or fluoride that can harm the plant.
Temperature and Humidity Preferences
Rubber plants thrive in a warm, humid environment. Keeping the right temperature and humidity levels is essential for your plant’s well-being.
Optimal Temperature Range
The optimal temperature range for rubber plants is between 65°F and 75°F (18°C to 24°C). Avoid placing them near drafts or extreme temperatures.
Humidity Enhancement Methods
To enhance humidity, you can place the plant on a tray filled with water and pebbles or use a humidifier. Placing plants close together can help create a more humid microclimate.
Soil and Fertilizer Recommendations
Using the right soil composition and fertilizing schedule is crucial for the nutritional needs of your rubber plant.
Soil Composition
A well-draining potting mix is ideal for rubber plants. A mix containing peat, perlite, and vermiculite provides good aeration and moisture retention.
Fertilizing Schedule
Feed your rubber plant during spring and summer using a balanced, water-soluble fertilizer. Dilute the fertilizer to half the recommended strength to avoid burning the roots.
By following these essential care requirements, you can ensure your rubber plant remains healthy and thrives. Regular monitoring and adjustments to its environment will help prevent common issues and promote optimal growth.
Potting and Repotting Your Rubber Plant
Potting and repotting are crucial steps in the care of your rubber plant, ensuring it has the right environment to thrive. A well-chosen container and timely repotting can significantly impact your plant’s health and growth.
Choosing the Right Container
Selecting the appropriate container for your rubber plant is vital. The pot should be only slightly larger than the plant’s root ball, as too much extra soil can cause the soil to become too wet and lead to root rot. Make sure the pot has proper drainage holes to avoid soggy soil. A pot that is too small can also be problematic, as it may cause the soil to dry out too quickly.
When to Repot
Knowing when to repot your rubber plant is crucial. Typically, repotting is necessary when the plant becomes root-bound, meaning the roots have filled the pot. This can be checked by gently removing the plant from its container. If the roots are circling or have filled the pot, it’s time to repot. Spring is usually the best time for repotting, as it gives the plant the entire growing season to adjust.
Step-by-Step Repotting Guide
Preparing the New Pot
Before repotting, prepare the new pot by cleaning it thoroughly and adding a layer of fresh potting mix at the bottom. This helps prevent the transfer of any potential diseases and provides a nutritious start for your rubber plant.
Removing the Plant Safely
Carefully remove the rubber plant from its pot, taking care not to damage the roots. If the plant is stuck in the pot, gently wiggle it back and forth to loosen it.
Root Care During Repotting
After removing the plant, check the roots carefully. If they are circling or too long, trim them gently with sterile scissors to encourage new growth.
Post-Repotting Care
After repotting, water your rubber plant thoroughly and place it in a bright, indirectly lit area. Monitor the plant closely for any signs of stress and adjust its care as necessary.
By following these steps, you can ensure your rubber plant continues to thrive in its new pot, enjoying a healthy and robust growth period.
Pruning and Shaping Techniques
Pruning your rubber plant is not just about cutting branches; it’s about encouraging new growth and maintaining its aesthetic appeal. Regular pruning helps control the plant’s size, promotes healthy growth, and enhances its visual appeal.
Why Prune Your Rubber Plant
Pruning is essential for removing dead or damaged leaves and branches, which helps prevent disease and encourages the plant to focus its energy on healthy growth. It also allows you to shape your rubber plant to your desired form, making it a beautiful addition to your home decor.
Best Time for Pruning
The best time to prune your rubber plant is during the spring and summer months when it is actively growing. Avoid pruning during the fall and winter when the plant is dormant, as this can cause unnecessary stress.
Pruning Methods and Tools
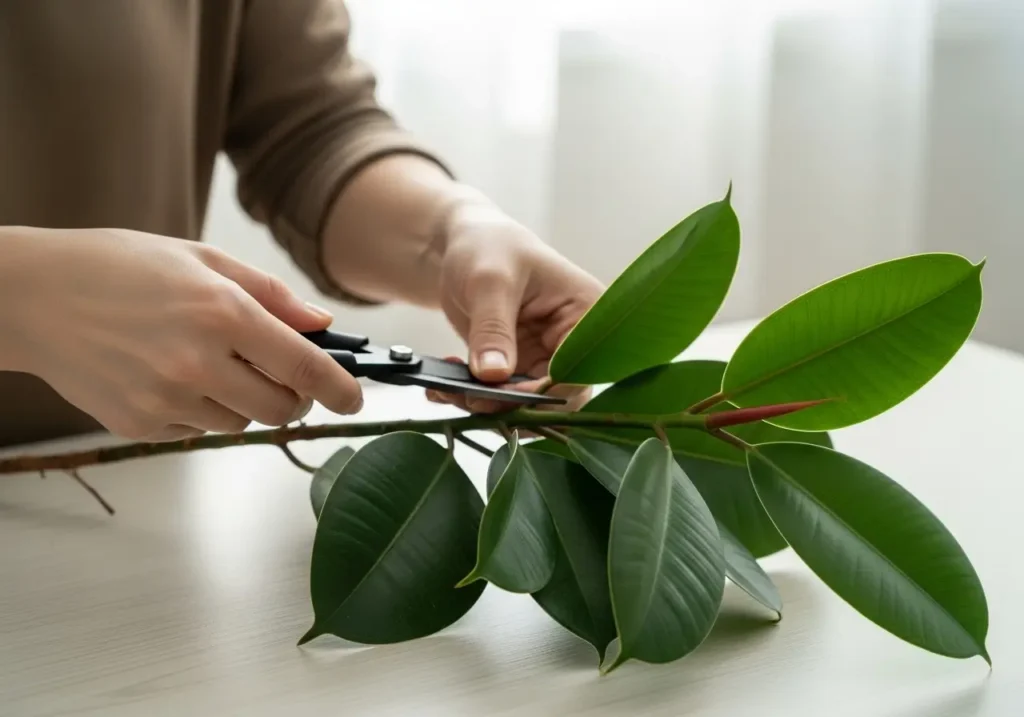
To prune your rubber plant effectively, you’ll need a pair of clean, sharp pruning tools. For smaller branches, use scissors or pruning shears, while larger branches may require pruning loppers.
Making Clean Cuts
When making cuts, ensure they are clean and just above a node (where a leaf meets the stem). This encourages faster healing and lowers the chance of infection.
Handling Rubber Plant Sap
Be cautious when handling the sap of your rubber plant, as it can be irritating to the skin. Wear gloves and wash your hands thoroughly after pruning.
Shaping for Aesthetics
To maintain a desired shape, prune your rubber plant regularly, removing any leggy growth or uneven branches. Pruning not only enhances the plant’s look but also encourages fuller, bushier growth.
| Pruning Tool | Use |
|---|---|
| Scissors/Pruning Shears | Small branches and leaves |
| Pruning Loppers | Larger branches |
Post-Pruning Care
After pruning, ensure your rubber plant receives adequate water and nutrients. Monitor its condition and adjust your care routine as necessary to help it recover from pruning stress.
Propagating Rubber Plants
With the right techniques, you can easily propagate rubber plants and enjoy more of these stunning houseplants. Propagating rubber plants allows you to share them with friends or expand your own collection. There are two popular methods for propagating rubber plants: air layering and stem cutting propagation.
Air Layering Method
Air layering involves creating a new root system on the stem of the rubber plant before cutting it off. This method can be particularly effective for mature plants with thick stems.
Materials Needed
To air layer a rubber plant, you will need a few simple materials: a sharp knife or pruning tool, sphagnum moss, and a plastic wrap or bag.
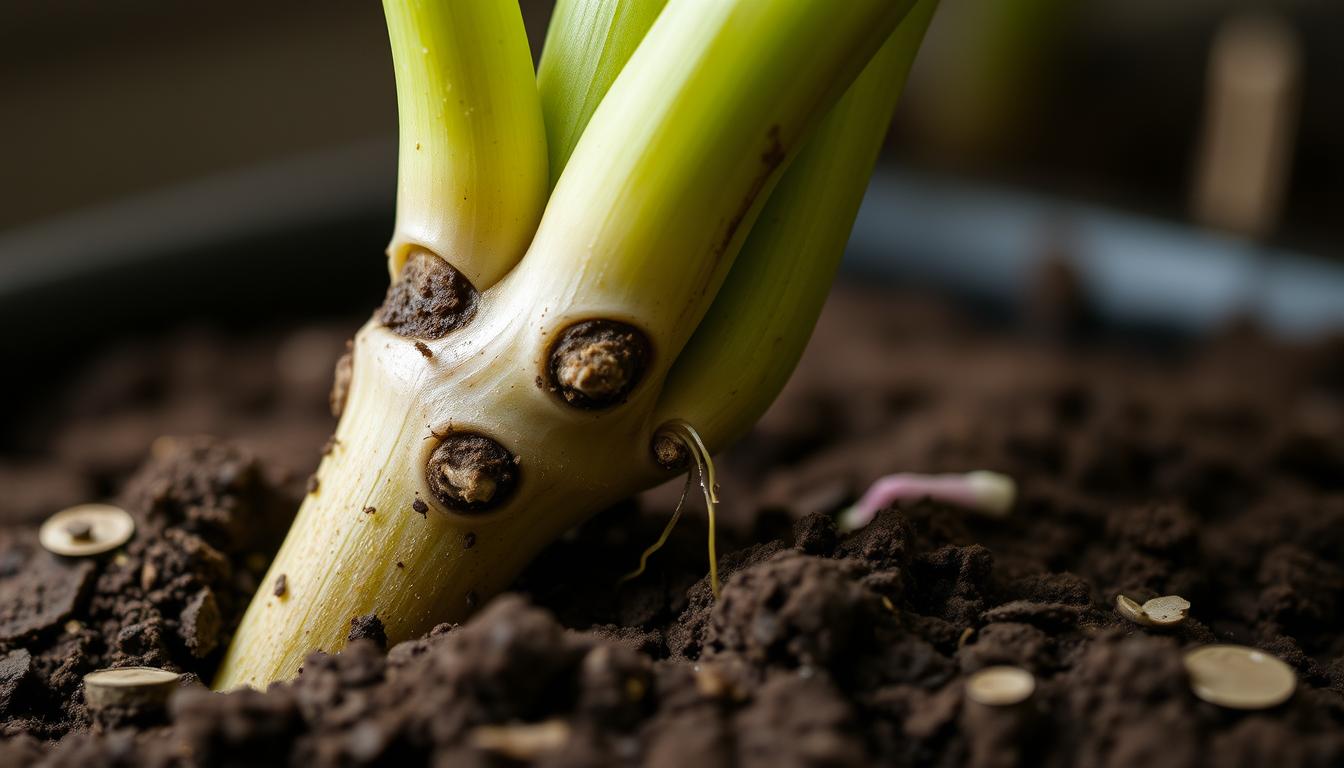
Step-by-Step Process
To air layer your rubber plant, start by making a small incision in the stem, just below a node. Then, wrap the area with moistened sphagnum moss and cover it with plastic wrap or a bag. Roots should develop within a few weeks. Once roots have formed, you can cut the stem below the new root system and pot the new plant.
Stem Cutting Propagation
Stem cutting propagation involves rooting cut sections of the stem in water or soil. This method is relatively straightforward and can be very effective.
Selecting Healthy Cuttings
To propagate rubber plants using stem cuttings, select healthy stem sections with at least two nodes. Cut the stem just above a node using a sharp, clean tool.
Rooting in Water vs. Soil
You can root the cuttings in either water or soil. Rooting in water allows you to see the roots develop, but transferring the cutting to soil can sometimes cause shock. Rooting directly in soil can be more stable, but it may be harder to monitor root development.
Monitoring Root Development
Whether rooting in water or soil, it’s essential to monitor the cutting for signs of root development, such as new growth or resistance when gently tugged. Once roots have developed, you can transfer the new plant to a pot with well-draining soil.
Caring for New Rubber Plant Babies
After propagating your rubber plants, provide the new plants with bright, indirect light and maintain a consistent temperature between 65-75°F (18-24°C). Water them when the top inch of soil feels dry, and fertilize sparingly until they’re well-established.
| Propagation Method | Success Rate | Time to Root Development |
|---|---|---|
| Air Layering | High | 3-6 weeks |
| Stem Cutting | Moderate to High | 2-4 weeks |
Troubleshooting Common Rubber Plant Problems
Even with the best care, rubber plants can encounter problems that require troubleshooting. Issues such as leaf yellowing, dropping, or brown spots can be alarming, but understanding their causes can help you take corrective action.
Leaf Issues: Yellowing, Dropping, and Brown Spots
Leaf problems are among the most common issues faced by rubber plant owners. These issues can stem from various factors, including watering problems, light exposure, and nutrient deficiencies.
Overwatering Symptoms
Overwatering can lead to yellowing leaves and root rot. Check for soft, mushy roots and adjust your watering schedule accordingly.
Underwatering Signs
Underwatering can cause leaves to droop and develop brown edges. Ensure your rubber plant receives adequate moisture, especially during dry periods.
Light-Related Problems
Insufficient or excessive light can affect your rubber plant’s health. Adjust the plant’s position to provide bright, indirect light.
Nutrient Deficiencies
Nutrient deficiencies can cause a range of leaf issues. Fertilize your rubber plant regularly with a balanced fertilizer to prevent deficiencies.
Pest Management
Pests can infest rubber plants, causing damage and stress. Common pests include spider mites, mealybugs, and scale insects.
Spider Mites
Spider mites are tiny, spider-like pests that can cause yellowing or bronzing of leaves. Treat infestations with insecticidal soap or neem oil.
Mealybugs
Mealybugs are small, white, cottony pests that can weaken your plant. Remove them manually or use chemical treatments.
Scale Insects
Scale insects are armored pests that feed on plant sap. Use horticultural oil or insecticidal soap to control scale infestations.
Natural and Chemical Treatment Options
For pest management, consider both natural and chemical treatment options. Neem oil and insecticidal soap are effective against a range of pests.
Disease Prevention and Treatment
Diseases can affect rubber plants, often as a result of overwatering or poor air circulation. Prevent diseases by ensuring good air circulation and watering practices.
By understanding and addressing these common issues, you can keep your rubber plant healthy and thriving. Regular monitoring and appropriate care adjustments are key to preventing many of the problems that can arise.
Seasonal Care Adjustments
As the seasons change, so do the needs of your rubber plant, requiring adjustments in care to ensure its continued health and vitality. Adjusting your care routine seasonally can significantly impact the well-being of your Ficus elastica, helping it thrive in varying conditions.
Spring and Summer Care
During the spring and summer, your rubber plant is in its active growth phase, requiring more attention and resources.
Growth Season Needs
In the spring and summer, your rubber plant needs more water and nutrients to support its growth. Ensure you’re providing enough moisture, but avoid overwatering, which can lead to root rot. Fertilizing your plant with a balanced fertilizer during this period can also promote healthy growth.
Summer Heat Management
High temperatures in the summer can stress your rubber plant. Keep it away from direct sunlight during the hottest part of the day, and consider using a humidifier to maintain a comfortable humidity level around your plant.
Fall and Winter Maintenance
As the weather cools down in fall and winter, your rubber plant’s needs change, requiring adjustments in your care routine.
Reduced Watering Schedule
In the fall and winter, your rubber plant’s growth slows down, reducing its need for water. Check the soil moisture regularly and water only when necessary to prevent overwatering.
Winter Light Supplementation
During the winter months, the days are shorter, and the light is weaker. Consider supplementing with grow lights to ensure your rubber plant receives sufficient light for photosynthesis.
Dormancy Period Management
Understanding and managing your rubber plant’s dormancy period is crucial for its health. During this time, the plant requires less water and nutrients. Monitor your plant’s condition and adjust your care routine accordingly to ensure it remains healthy until the next growth season.
By adjusting your care routine according to the season, you can ensure your rubber plant remains healthy and thrives throughout the year. Remember, a flexible care routine is key to supporting your plant’s changing needs.
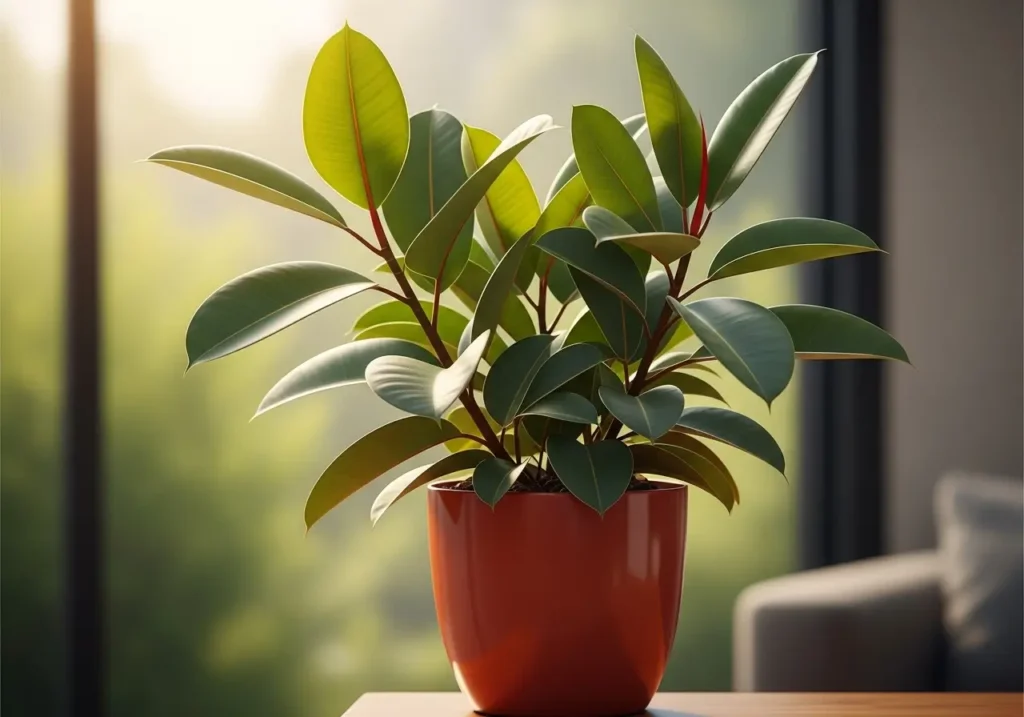
Decorating with Rubber Plants
Rubber plants are not just air-purifying wonders; they’re also decorative powerhouses. Their large, dark green leaves can add a touch of elegance to any room, making them a popular choice for home decor.
Design Ideas and Placement Tips
When it comes to decorating with rubber plants, placement is key. Consider positioning them in areas where they can be the focal point, such as a corner of a room or near a window.
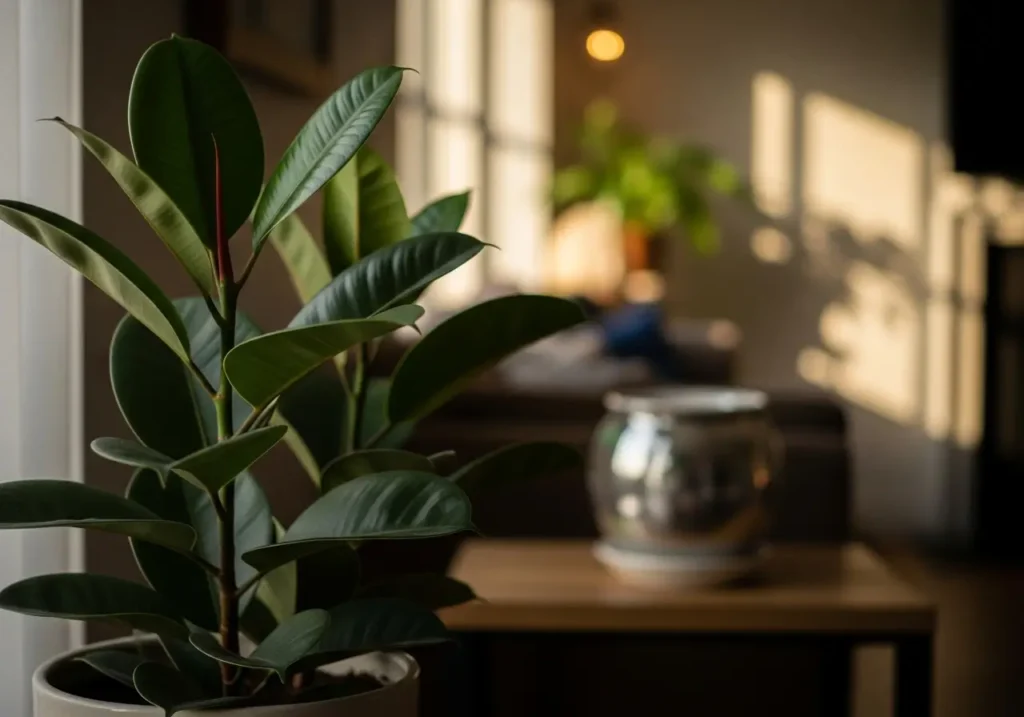
Statement Plant Positioning
Use a rubber plant as a statement piece by placing it in a decorative container and positioning it in a high-traffic area. This can help draw the eye and create a sense of calm.
Using Rubber Plants in Different Rooms
Rubber plants can thrive in various rooms, from living rooms to bedrooms. They prefer bright, indirect light, making them suitable for rooms with large windows.
Container Styling Options
The right container can elevate the look of your rubber plant. Choose a container that complements the plant’s dark green leaves, such as a white or wooden planter.
Pairing with Other Houseplants
Rubber plants can be paired with other houseplants to create a lush, indoor garden. Consider combining them with plants that have different textures and colors.
Complementary Plant Species
Some great options for complementary plants include snake plants, spider plants, and peace lilies. These plants are not only visually appealing but also share similar care requirements.
Creating Plant Groupings
To create a visually appealing plant grouping, vary the heights and textures of the plants. This can add depth and interest to your indoor garden.
| Plant Type | Lighting Needs | Watering Needs |
|---|---|---|
| Rubber Plant | Bright, indirect light | Water thoroughly, allow soil to dry between waterings |
| Snake Plant | Low to bright light | Water sparingly, allowing soil to dry completely between waterings |
| Peace Lily | Low to bright, indirect light | Water thoroughly, allowing soil to dry slightly between waterings |
Conclusion
Caring for a rubber plant is a long-term commitment that requires attention to detail and a willingness to adapt to its changing needs. By following the guidelines outlined in this comprehensive guide, you’ve taken the first step towards becoming a skilled rubber plant caregiver.
As you’ve learned, rubber plant care involves understanding the plant’s basic needs, troubleshooting common problems, and making seasonal adjustments. With the right care, your rubber plant will continue to thrive, bringing beauty and freshness to your home.
To keep your rubber plant healthy and flourishing, remember to monitor its condition regularly, adjust its environment as needed, and propagate new plants to share with friends and family. By doing so, you’ll not only enjoy the benefits of rubber plant care but also become a part of a community that appreciates the beauty and simplicity of this wonderful plant.
FAQ
How often should I water my rubber plant?
Watering frequency depends on the season, with more water needed during the spring and summer growth periods. Check the soil moisture by sticking your finger into the soil up to the first knuckle; if the soil feels dry, it’s time to water.
What is the ideal light condition for a rubber plant?
Rubber plants prefer bright, indirect light. Direct sunlight can cause leaf scorch, so it’s best to place them near an east- or west-facing window or use a sheer curtain to filter the light.
Why are my rubber plant’s leaves turning yellow?
Yellowing leaves can be a sign of overwatering, underwatering, or exposure to too much direct sunlight. Adjust your watering schedule and ensure the plant is receiving the right amount of light.
How do I propagate a rubber plant?
Rubber plants can be propagated through air layering or stem cutting. Air layering involves creating a new root system on the stem before cutting it off, while stem cutting involves rooting cut sections of the stem in water or soil.
What are common pests that affect rubber plants?
Common pests include spider mites, mealybugs, and scale insects. Inspect your plant regularly and treat any infestations promptly with insecticidal soap or neem oil.
Can I grow a variegated rubber plant indoors?
Yes, variegated rubber plants can thrive indoors with the right care, including bright, indirect light and careful watering. They may require more precise conditions than non-variegated varieties.
How do I care for my rubber plant during the winter?
During the winter, reduce watering to once a month, and consider supplementing with grow lights if the plant is not receiving enough natural light.
What is the best soil composition for a rubber plant?
A well-draining potting mix with a mix of peat, perlite, or vermiculite is ideal. Avoid using regular garden soil, as it can compact and prevent proper drainage.
How often should I fertilize my rubber plant?
Fertilize your rubber plant during the growing season (spring and summer) with a balanced, water-soluble fertilizer. Dilute the fertilizer to half the recommended strength to avoid burning the roots.
Can I prune my rubber plant to maintain its shape?
Yes, pruning is essential for maintaining the shape and promoting healthy growth of your rubber plant. Prune in the spring or early summer, removing any dead or damaged leaves and shaping the plant as desired.
What is the ideal temperature range for a rubber plant?
Rubber plants prefer temperatures between 65°F to 75°F (18°C to 24°C). Avoid placing them near drafty windows or air conditioning vents.
How do I repot a baby rubber plant?
Repot a baby rubber plant in the spring when it becomes root-bound. Use a well-draining potting mix and a container that is only slightly larger than the previous one.