Outdoor Kitchen Island: How to Build One Step by Step
Turn your backyard into a social hub with an outdoor kitchen island. This guide shows you how to make a cooking area that’s both stylish and practical. It’s perfect for homeowners who want to take on a weekend project.
Building it will take 2–4 weekends, depending on how fast you work. The guide covers everything from picking materials to installing appliances. Your outdoor kitchen island will become the heart of your gatherings.
Key Takeaways
- Project timeline: 2–4 weekends for most DIYers.
- Requires basic to intermediate carpentry skills.
- Customizable design to fit any backyard layout.
- Boosts home value by adding an outdoor living space.
- Step-by-step instructions from foundation to final touches.
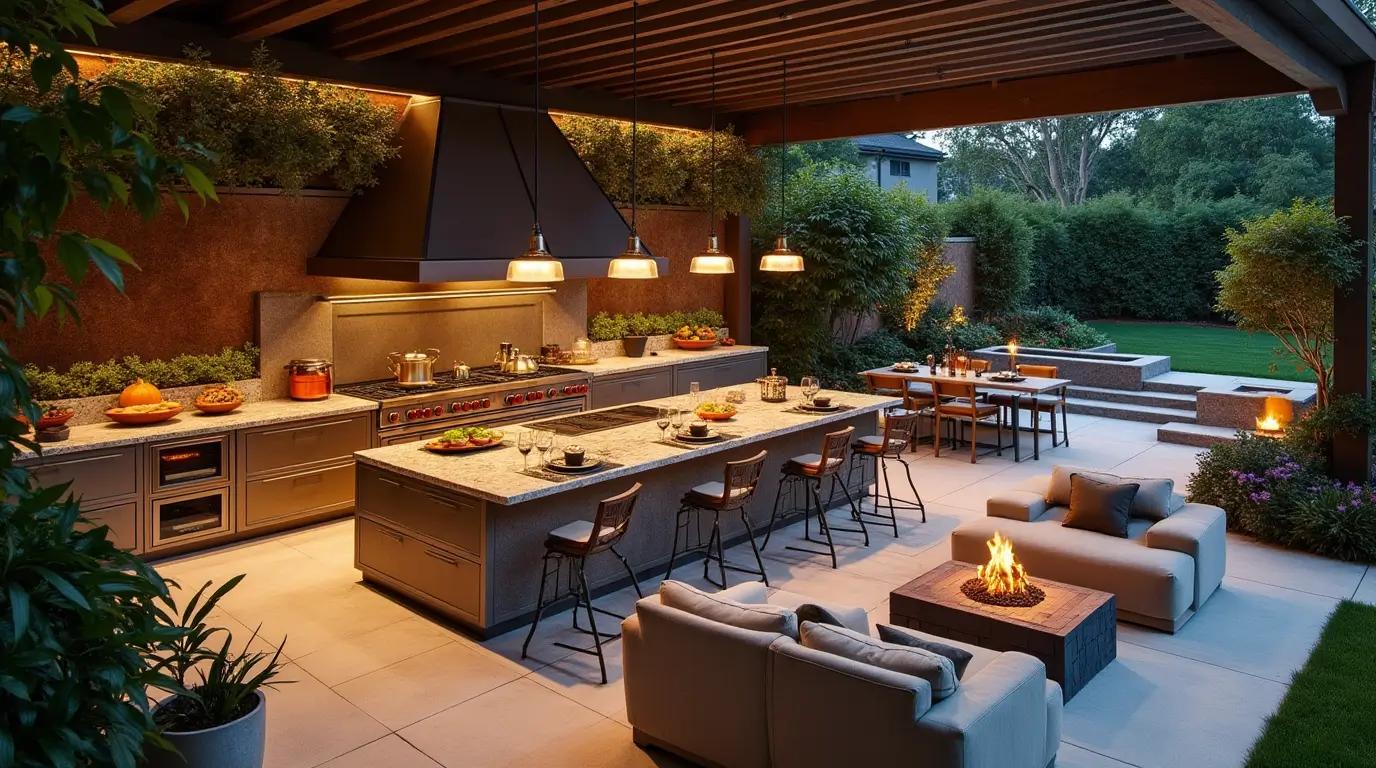
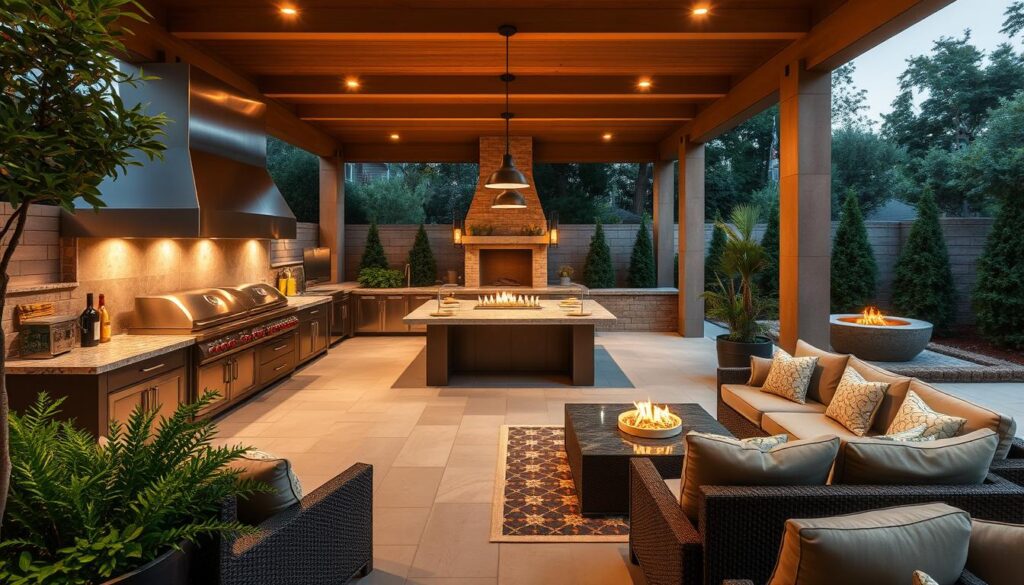
Why an Outdoor Kitchen Island Will Transform Your Backyard
Turn your backyard into a lively spot for socializing with an outdoor kitchen island. It’s more than a place to cook; it’s where friends and family make memories. Picture summer barbecues where everyone stays outside while the kitchen stays cool.
Benefits of Outdoor Cooking Spaces
These areas do more than just cook food; they change how you live:
- They keep your home cool and odor-free during summer.
- They become the heart of your outdoor cooking space for meals and parties.
- They add to your home’s space without the cost of building.
“Outdoor kitchens boost homeowner satisfaction by 60% by creating dynamic outdoor entertaining areas.” — National Association of Landscape Professionals, 2023
What Makes Outdoor Kitchen Islands Different from Indoor Kitchens
| Feature | Indoor Kitchens | Outdoor Kitchen Islands |
|---|---|---|
| Materials | Standard countertops | Weather-resistant stainless steel or quartz |
| Primary Use | Everyday meal prep | Seasonal entertaining and social cooking |
| Flexibility | Fixed layout | Modular designs with storage or seating options |
Return on Investment for Your Home Value
Outdoor kitchens can increase your home’s value by 100–200%, says the National Association of Realtors. People want these spaces for hosting big gatherings and enjoying the outdoors. A well-designed island is more than a kitchen; it’s a lifestyle upgrade that adds value.
Planning Your Perfect Outdoor Kitchen Island
Begin your outdoor kitchen design by measuring your space carefully. Draw a detailed layout or use apps like SketchUp to see how appliances and seating will fit. A good plan saves you from expensive changes later.
- Location: Put the island near your home’s entrance for easy access but don’t block paths.
- Wind: Place grills and smokers downwind to keep smoke away from where you sit.
- Utilities: Mark where gas, water, and electricity lines are to avoid problems.
- Local Rules: Check HOA rules or permits before starting your project.
Make sure you have at least 36” of counter space for prep. Arrange appliances in a triangle shape—sink, grill, and storage—to make cooking easier. Countertops should be 36” high for comfort. Divide your space into zones: cooking, serving, and casual dining.
Think about the weather! In humid places, choose teak or composite materials. In cold areas, pick materials that won’t crack in the cold. Get ideas from Outdoor Spaces magazine or visit local kitchens. Your design should match how you like to entertain—whether it’s small gatherings or big parties.
Don’t rush this step. A well-thought-out plan makes your outdoor kitchen the heart of your backyard, not just an afterthought.
Essential Materials and Tools for Your Build
Starting a custom outdoor kitchen means picking the right materials and tools. This guide will help you choose wisely for durability and function. Let’s explore the details.
Weather-Resistant Building Materials
Go for materials that can handle the outdoors. Here are some good choices:
- Concrete blocks or pavers for stability
- Steel studs or cement board for walls
- Pressure-treated lumber for framing
- Outdoor-rated veneers like stone or tile
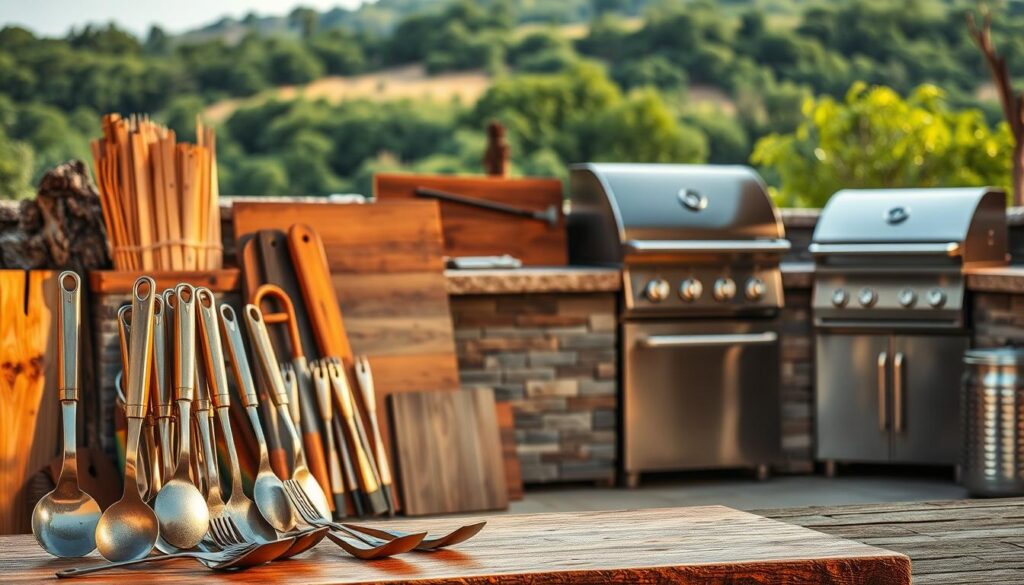
Must-Have Tools for Construction
Here are the essential tools:
- Measuring tape, level, and chalk line
- Drill and circular saw
- Masonry saw for cutting stone or cement board
- Angle grinder for smoothing edges
Rent tools like a concrete mixer if you have other projects too.
Estimated Budget Breakdown
Costs depend on what you choose. Here’s a rough guide:
| Category | Economy ($2,000–$5,000) | Mid-Range ($5,000–$12,000) | Luxury ($12,000+) |
|---|---|---|---|
| Foundation | Basic gravel pad | Poured concrete base | Stamped concrete with drainage |
| Appliances | Portable grill and sink | Installed gas grill and sink | Smart-connected appliances |
Plan your budget well. Focus on durable materials for busy spots like countertops and foundations.
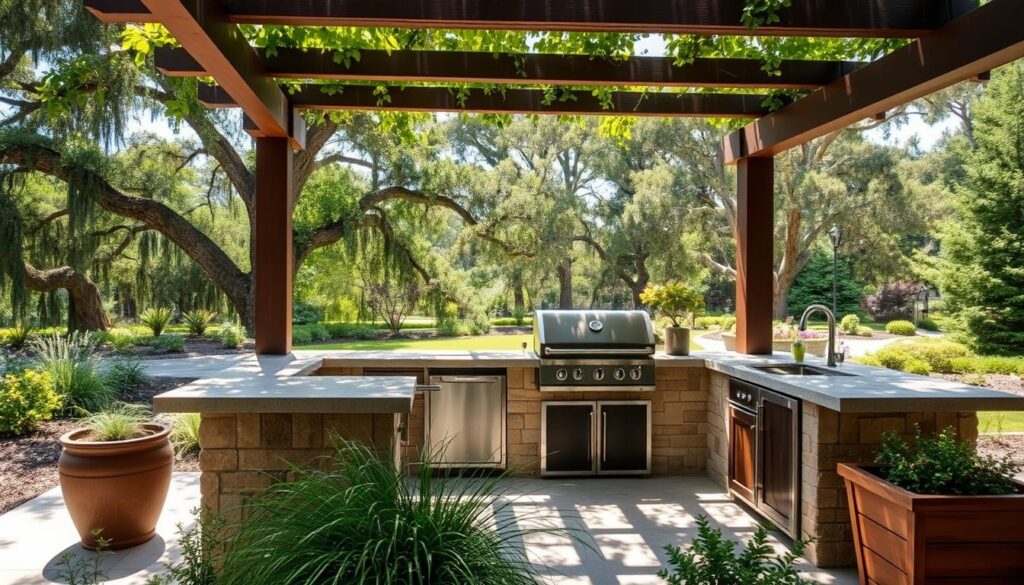
Design Considerations Before Breaking Ground
Before starting your outdoor grill island, think about how people will move around it. Make sure there’s at least 48 inches of space for everyone to move. outdoor grill island designs work best when there’s seating nearby, creating a social spot.
Also, consider how your island will fit with your garden and patio. Make sure it doesn’t block views or sunlight.
| Shape | Functionality | Space Use |
|---|---|---|
| L-shaped | Perfect for corner spaces | Maximizes counter space |
| U-shaped | Encourages group interaction | Requires larger yards |
| Curved | Softens outdoor spaces | Best for open layouts |
Adding overhead protection like a pergola or awning makes your island usable all year. Lighting is crucial—use LED lights for tasks, string lights for mood, and uplights for safety. Choose materials that match your home’s style; stone fits rustic homes, while stainless steel suits modern ones.
- Storage: Install weatherproof drawers for utensils and gas canisters
- Seating: Add bench seating adjacent to the outdoor grill island for casual dining
- Flow: Ensure 4′ clearance between the island and dining areas
A good outdoor grill island should blend beauty with function. It should feel like a part of your home, ready for any occasion.
Building a Solid Foundation for Your Outdoor Kitchen Island
Your backyard BBQ station’s longevity starts with a strong base. A poorly built foundation risks cracks, shifts, or costly repairs later. Follow these steps to lay a lasting foundation tailored to your setup.
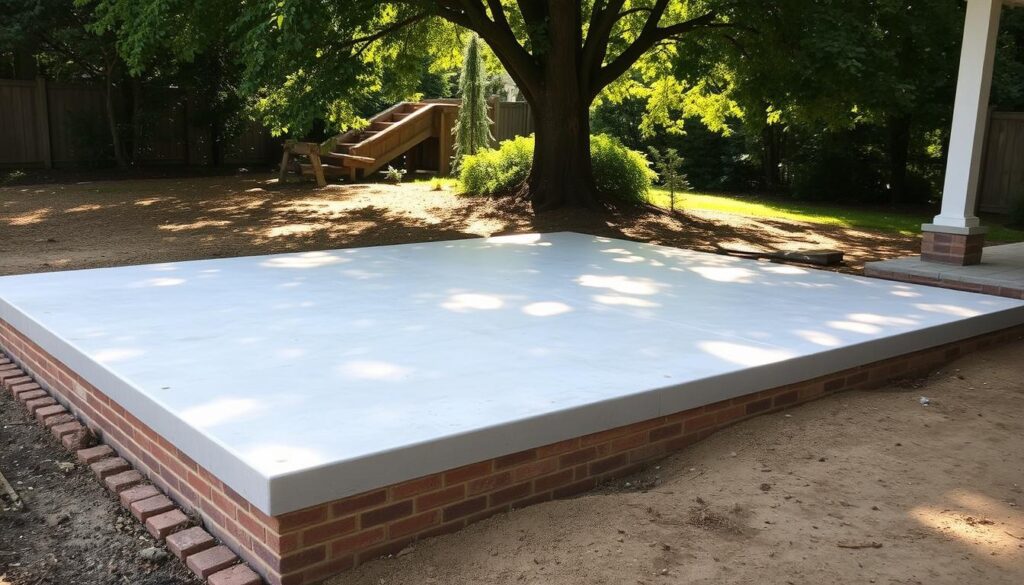
Concrete Pad Foundation Options
Choose from three main options to match your budget and design:
- Poured concrete slab: 4–6-inch thick, reinforced with rebar for heavy appliances.
- Interlocking pavers: Easy to install and repair, ideal for lighter setups.
- Mortared stone: Adds rustic charm but requires professional help for proper leveling.
Drainage Considerations
Water pooling leads to rot and cracks. Aim for a ¼-inch slope per foot away from your home. Dig shallow trenches around the perimeter to redirect runoff.
“A soggy foundation is a disaster waiting to happen. Spend an extra day grading the site—it’s cheaper than rebuilding later.”
Weight-Bearing Requirements
Calculate total weight: stone countertops and grills can top 2,000 pounds. Use soil tests if unsure about ground load capacity. Avoid soft soil spots by adding gravel base layers.
DIYers can handle most steps, but consult a contractor for heavy-duty appliances like pizza ovens. Plan for future expansions by overbuilding slightly.
Constructing the Frame and Structure
Building a strong frame is key for your outdoor kitchen island. This guide helps both DIY experts and beginners. We’ll cover materials, supports, and waterproofing to make your project last.
Wood vs. Metal Framing Options
There are two main choices:
- Pressure-treated wood: Great for beginners. It’s affordable and easy to work with but needs yearly upkeep.
- Steel studs: Last a long time and are termite-proof. It requires welding skills but is very durable.
“Always pre-drill pilot holes when screwing metal—this prevents splitting and ensures tight joints,” says contractor Sarah Lee of BuildRight Designs.
Supporting Heavy Elements
Heavy countertops or grills need extra support. Use joists no wider than 16 inches apart. Add L-brackets at joints. Remember, leave ¼-inch space around appliance cutouts for temperature changes.
Waterproofing Your Structure
Keep your project safe with these steps:
- Line the base with a waterproof cement board.
- Install metal flashing around seams and corners.
- Seal all screws with silicone caulk.
Use outdoor-rated materials like galvanized hardware and marine-grade adhesives to avoid rot.
Installing Utilities: Electrical, Plumbing, and Gas
Setting up utilities for your custom outdoor kitchen needs careful planning. First, check local building codes and get the necessary permits. Electrical work requires outdoor-rated parts like GFCI outlets, spaced every 6–8 feet. Use 12-gauge or thicker wires in waterproof conduit. LED lighting adds safety and ambiance.
- Electrical: Get a licensed electrician for wiring. Make sure appliances like grills or refrigerators have their own circuits.
- Plumbing: Install faucets that won’t freeze and use PEX pipes. Slope drains away from the island to avoid water pooling. Use fittings that resist UV damage.
- Gas: Never try to install gas lines yourself. Licensed plumbers must do it, using Schedule 40 PVC or black iron pipes. They must also install shutoff valves and test for leaks.
“Safety isn’t optional when dealing with gas or high-voltage systems.” – National Kitchen & Bath Association
For sinks, pick under-counter models with insulated pipes to avoid winter damage. Propane tanks are an option instead of natural gas, but they need proper ventilation. Always test gas lines and mark all utility shut-off points clearly. Skipping inspections or taking shortcuts can lead to fines or serious failures. Always choose professional help where codes require it—your safety and home value depend on it.
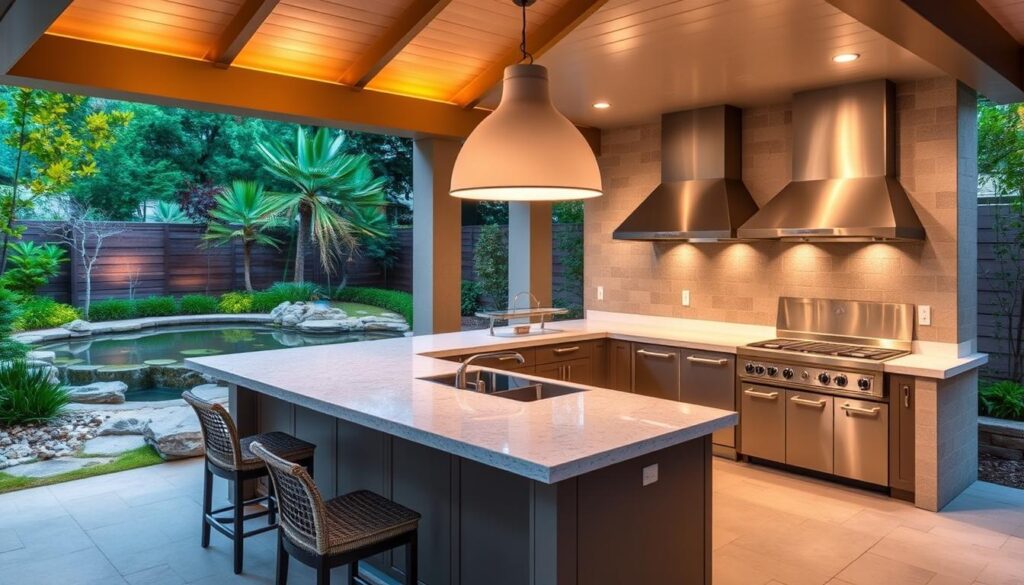
Finishing Your Outdoor Kitchen Island with Style
Make your outdoor kitchen a standout with careful finishing touches. Each material choice affects both looks and durability. Choose options that are both functional and stylish.
Countertop Material Options
Granite or quartz, like Caesarstone, offers smooth, easy-to-clean surfaces. Concrete lets you create unique patterns. Tile options, such as encaustic or porcelain, add color but might need a pro to install. Make sure each material can handle the heat from grills or stoves.
Veneer and Facing Techniques
- Stone or brick veneers add a rustic touch; use masonry adhesive for a strong bond.
- Stucco finishes give a Mediterranean look—apply with a trowel for texture.
- Tile facades need non-porous grout and sealing to avoid moisture damage.
Weather-Resistant Finishes
- Apply penetrating sealants like Thompson’s WaterSeal to wood frames every 2-3 years.
- Use UV-resistant paint on metal surfaces to prevent fading.
- Choose epoxy-based stains for concrete countertops to boost durability without cracking.
Match finishes with your home’s style. A modern home might look great with sleek porcelain. A farmhouse style could pair well with weathered wood. Every detail should reflect your outdoor kitchen design vision. Your space will be a highlight for years.
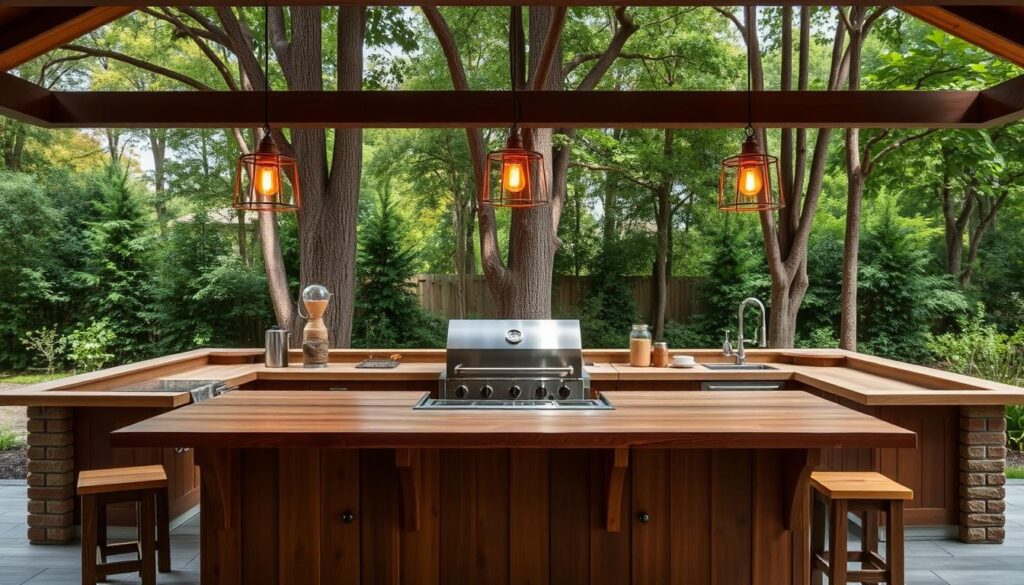
Must-Have Appliances for Your Custom Outdoor Kitchen
Choosing the right outdoor kitchen appliances is key for great meals and gatherings. Start with a grill as your centerpiece. Gas models like Weber’s Spirit line are convenient. Pellet grills from Traeger add a smoky flavor. Charcoal lovers might prefer Big Green Egg kamado styles.
- Grills: Compare gas, charcoal, pellet, or kamado options based on your cooking style.
- Side burners: Add versatility for simmering sauces or warming sides with stainless steel models.
- Refrigeration: Insulated coolers like Yeti Hopper keep drinks cold, while undercounter fridge drawers from Danby free up counter space.
- Sink stations: Pair with a prep sink and hot water dispenser for easy cleanup.
“Invest in outdoor kitchen appliances rated for weather exposure—they handle UV rays, humidity, and temperature swings better than indoor models.”
Look for 304-grade stainless steel in burners and refrigerators to resist corrosion. Gas lines and electrical setups must comply with local codes, so consult a licensed plumber. Pizza ovens or smokers add flair but require ample clearance from structures. For cold climates, winterize by draining water lines and covering vents.
Budget-friendly options like Char-Broil grills work for casual cooks, while premium brands like Viking offer long-term durability. Prioritize appliances with corrosion-resistant materials and check for certifications like ETL listing. A well-planned appliance lineup turns your island into a functional, stylish hub for year-round entertaining.
Conclusion: Enjoying Your New Outdoor Entertaining Area
Your new outdoor kitchen island turns your backyard into a lively spot. Host a weekend barbecue or evening party to celebrate. Invite friends to enjoy a griddle from Weber or a pizza oven from Fire Magic.
Add string lights and weather-resistant cushions from Keter for a cozy feel.
Seasonal care keeps your space lasting longer. In cold areas, disconnect hoses and store propane tanks for winter. For humid places, clean stone countertops monthly with a stiff brush.
Make a maintenance list: check gas lines in spring and fall, seal surfaces yearly, and oil appliance hinges every six months.
Expand your space as needed. Add a retractable awning from Sunbrella for shade or a built-in ice maker from Danze. Store seasonal decor in Rubbermaid totes to stay organized.
Include potted herbs in TerraCotta planters for a touch of beauty.
This investment boosts your home’s value and lifestyle. Whether it’s for a small dinner or a big holiday party, your outdoor area is always ready. Every detail, from a stainless-steel sink to LED lights, makes your space grow with you. Now, it’s time to enjoy the fruits of your labor.
FAQ
What are the benefits of having an outdoor kitchen island?
An outdoor kitchen island turns your backyard into a cooking haven. It gets rid of indoor smells and heat. It also becomes a natural spot for family and friends to gather.
How do outdoor kitchen islands differ from indoor kitchens?
Outdoor kitchen islands are built to handle weather. They use special materials and appliances for outdoor use. They focus on being open-air and may need unique designs for outdoor cooking.
What should I consider when planning my outdoor kitchen design?
Think about space, where it is in relation to your house, and wind direction. Also, check local building codes. Make sure there’s enough counter space and zones for cooking and entertaining.
What are the essential materials needed for building an outdoor kitchen island?
You’ll need materials like concrete blocks, steel studs, and cement boards. Don’t forget outdoor-rated appliances and waterproofing. These ensure your kitchen looks good and lasts long.
How much can I expect to spend on my outdoor kitchen project?
Costs vary based on quality and features. A basic setup might cost $2,000-5,000. A mid-range kitchen could be $5,000-12,000. Luxury kitchens might cost over $12,000. Your budget should cover materials, appliances, and labor.
What utilities will I need to install in my outdoor kitchen?
You might need electrical, plumbing, and gas lines. Make sure to follow safety and code rules, especially with gas and electrical systems. Professional help is often needed for these.
Which appliances are a must-have for an outdoor kitchen?
You’ll need a good grill, side burners, a refrigerator, and a sink. Choose appliances that are made for outdoor use. This ensures they last and work well outside.
How can I personalize my outdoor entertaining area?
Add outdoor textiles, lights, planters, and unique serving items. These details make your outdoor kitchen look great and feel welcoming for guests.