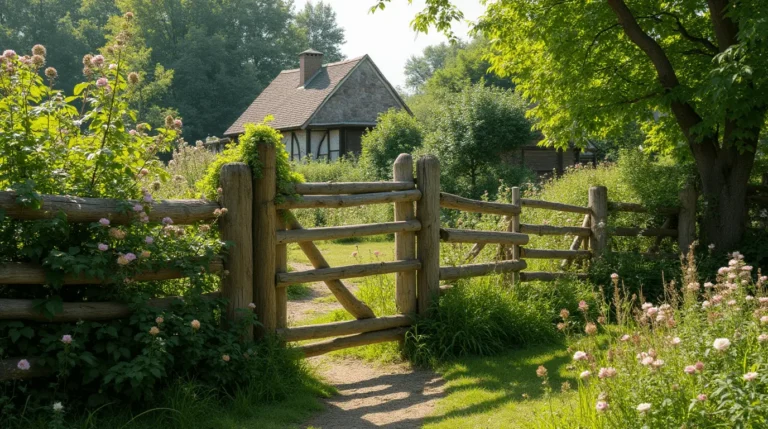
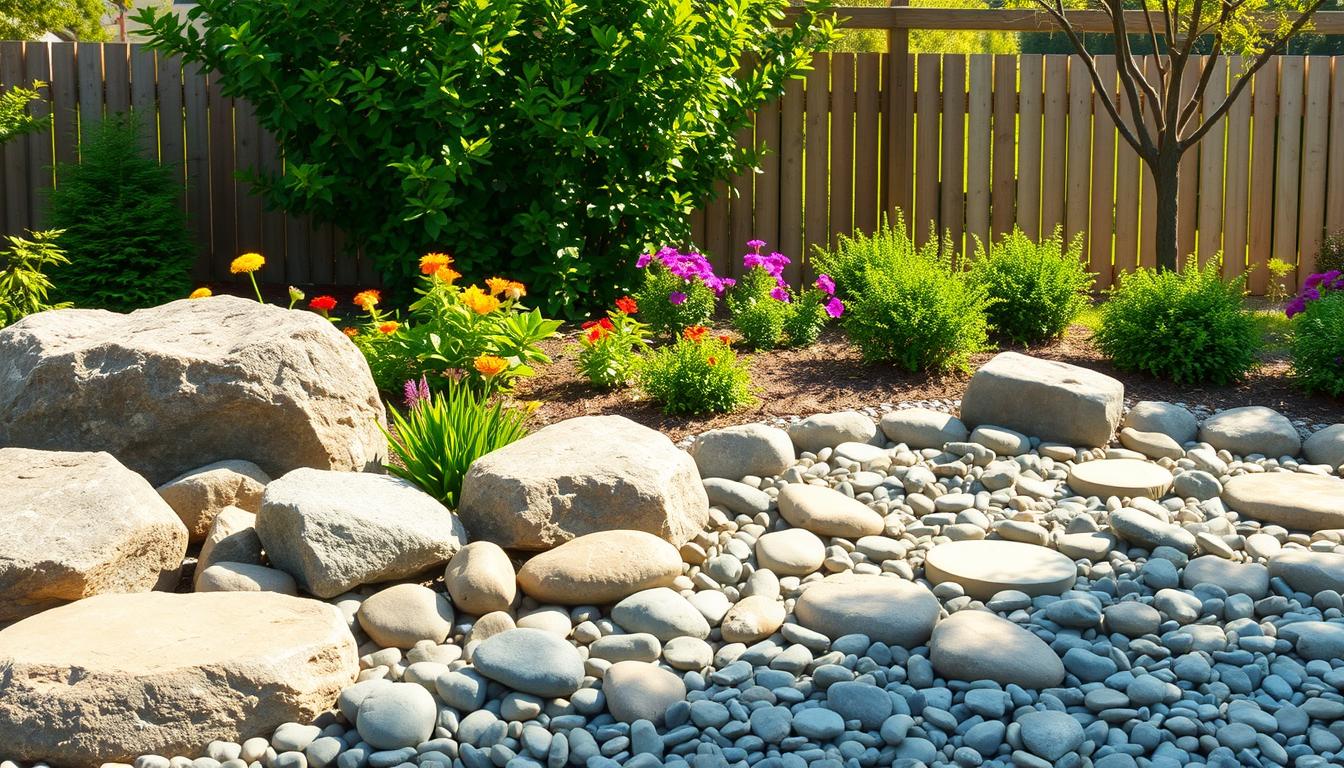
Large Landscaping Rocks: Tips for Easy Installation and Maintenance
Large landscaping rocks can transform your outdoor space. They mix nature’s beauty with practicality. These elements turn yards into stunning features that last for years.
Whether you’re adding boulders to a garden or making a modern pathway, this guide helps. It makes the process easy from start to finish.
This article gives clear steps for installing and keeping large landscaping rocks. It ensures your project stays on track. You’ll learn how to pick the right materials and plan your layout.
It also shows how to avoid common mistakes. Discover why natural stone landscaping is a smart choice. It adds beauty without much upkeep, boosting your home’s curb appeal.
Key Takeaways
- Large landscaping rocks offer durable, low-maintenance solutions for outdoor design.
- Natural stone landscaping boosts property value and creates year-round visual interest.
- Proper installation ensures rocks integrate seamlessly with soil and drainage systems.
- Maintenance involves simple tasks like weed control and seasonal checks for longevity.
- Outdoor rock features adapt to any style, from rustic to contemporary landscapes.
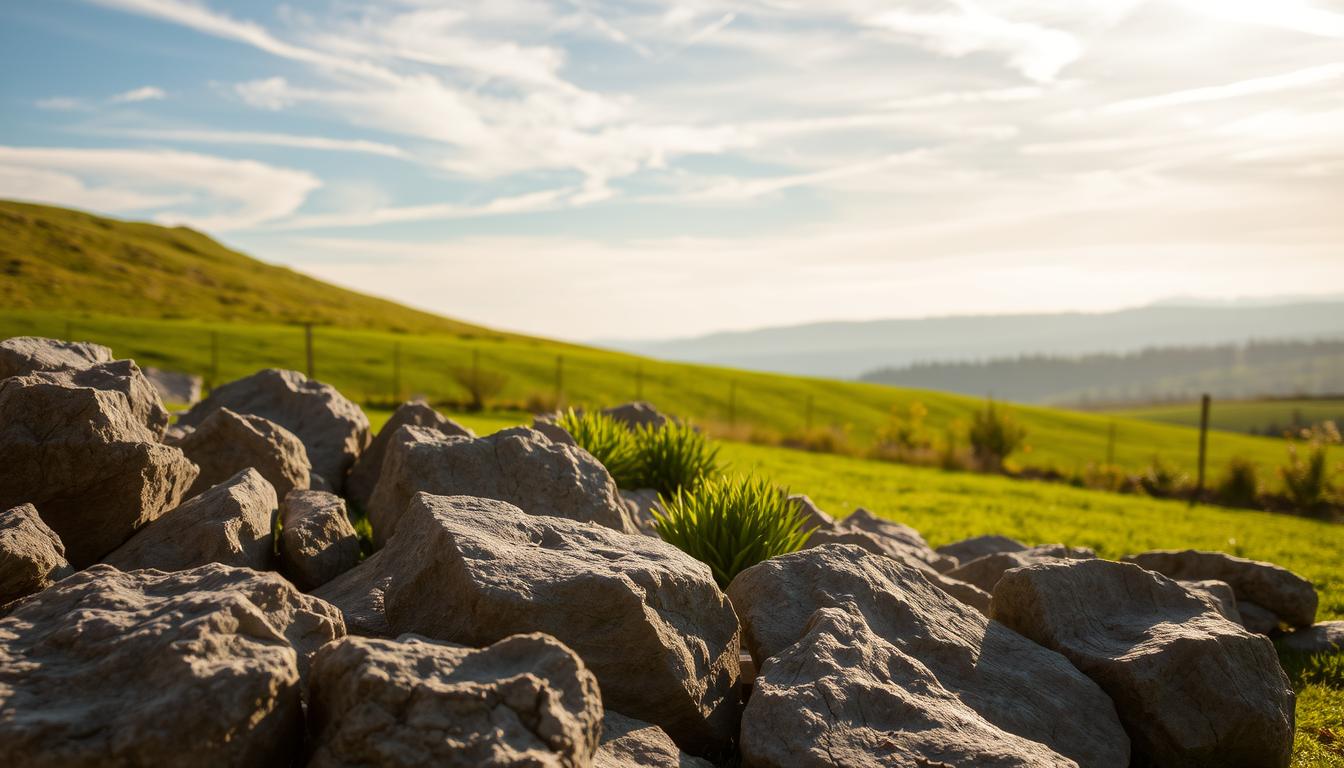
Understanding the Appeal of Large Landscaping Rocks
Large landscaping rocks are changing outdoor spaces in the U.S. They mix beauty with usefulness. People choose large landscaping rocks for three main reasons: they’re good for the environment, look great, and save money in the long run.
Environmental Benefits of Using Natural Stone
Natural stone landscaping is better for the planet. It uses less water than lawns, saving up to 30% on water use, says the EPA. It also stops soil erosion and helps keep soil healthy. Plus, rocks provide homes for pollinators and insects, boosting biodiversity.
Creating Visual Impact in Your Outdoor Space
“A well-placed boulder becomes the heartbeat of a landscape.” — Landscaping Design Institute
Boulder landscaping ideas use contrast and size. Mixing different rock sizes adds texture to gardens. For example, smooth river stones and angular granite boulders make interesting patterns. Their neutral colors fit any design, from modern to rustic.
Long-Term Value of Rock Landscaping Features
Quality natural stone lasts for decades with little care. A 2023 study by the National Association of Landscape Professionals shows homes with natural stone landscaping sell 15% faster than those with lawns. Unlike plants, rocks stay attractive all year, giving a steady return on investment.
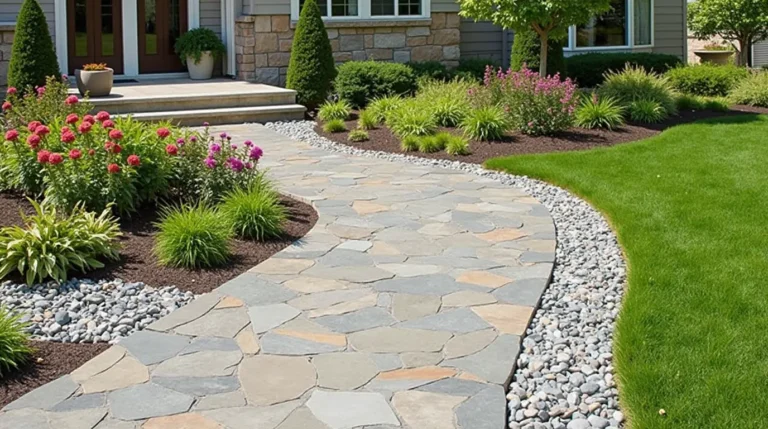
Types of Large Landscaping Rocks for Different Purposes
Choosing the right large landscaping rocks depends on their unique features. Each type, from rugged granite to smooth limestone, has its own role in outdoor design. Here are some top picks for your project.
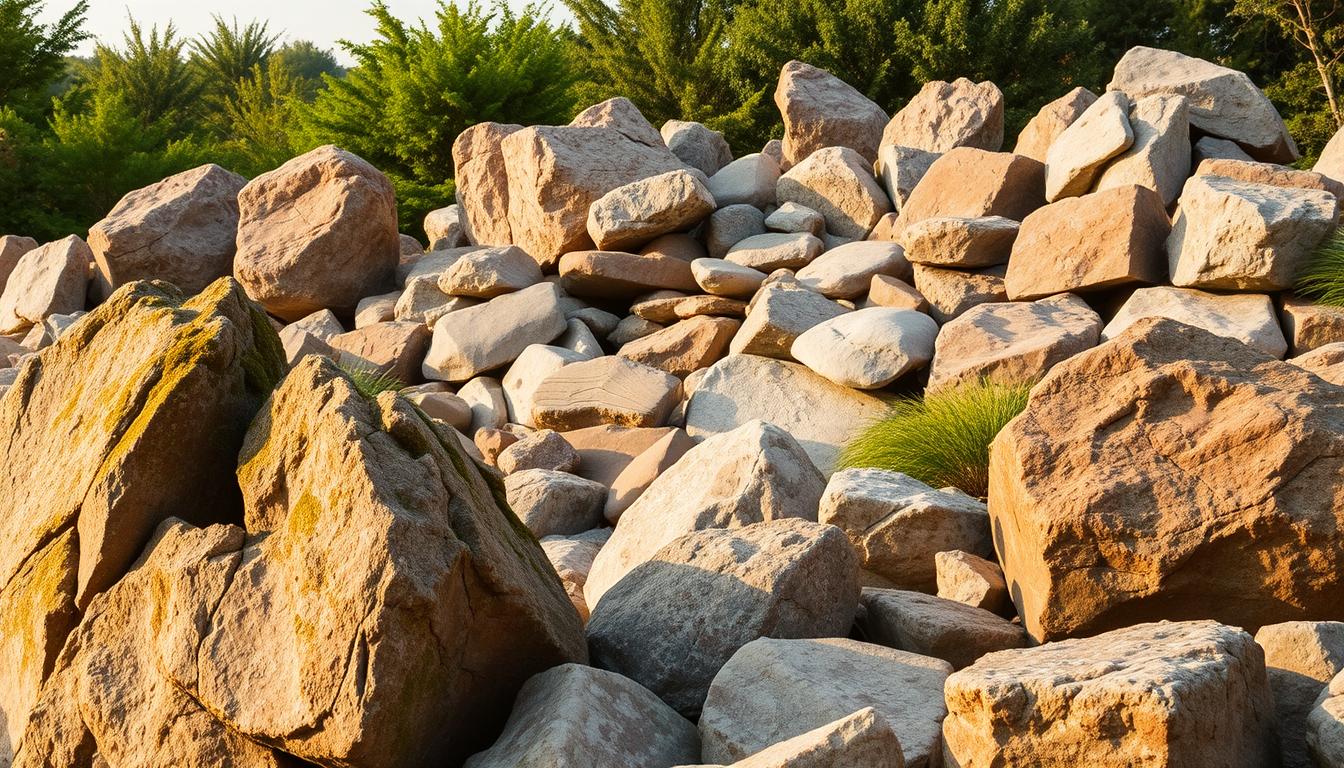
A stone’s origin and composition determine its longevity and suitability for different climates,” says Laura Green, a landscape architect in Colorado. “Matching the rock to your region ensures lasting beauty.
- Granite Boulders: These stones are very durable and can withstand weathering. They come in black, pink, or gray and are great for retaining walls or pathways. Prices range from $50–$200 per ton, depending on the quarry.
- Limestone: With soft cream to charcoal hues, limestone is popular for water features. It’s found in the Midwest, keeping prices low at $30–$100/ton. But, it’s not good for acidic soil areas as it can erode.
- Sandstone: Its layered reddish or tan tones make it a natural accent. Found in the Southwestern US, it’s suitable for dry climates but may crack in freezing zones.
- Basalt: This dark volcanic rock adds a dramatic touch. Western US basalt is erosion-resistant, making it perfect for walkways or garden borders at $70–$150 per ton.
- Quartzite: Hard and colorful, quartzite boulders resist fading. Southeastern quarries offer this premium option at $150–$300/ton, ideal for high-traffic areas.
When choosing large landscaping rocks, compare costs and durability. Look for local suppliers to save on delivery costs. Choose stones that fit your local climate for long-lasting beauty.
Planning Your Rock Landscape: Essential Considerations
Starting a large landscaping rocks project needs careful planning. First, look at your property’s features. Check sunlight, soil drainage, and plants to find the best spots. Soil tests help know if you need to change the soil for better rock stability and drainage.
Make a simple layout to see how rocks will look from important spots. Mix straight lines with natural shapes to create a balanced look. Make sure the rocks fit with your home’s design, like rooflines or doorways.
Figure out how many rocks you need by measuring your area. For ground cover, multiply the area’s length and width in feet. Then, multiply by the depth in inches and divide by 300. For example, a 200 sq ft area with a 2” depth needs about 1.3 cubic yards. Remember to add extra for special rocks like big boulders.
- Soil test kits cost $15–30 and check pH and nutrients.
- Use graph paper for scale drawings before buying materials.
- Ask local nurseries about plants that work well in your area.
Think about the seasons when picking natural stone landscaping. Make sure paths and seats are easy to move around. Use fewer, bigger rocks in small areas for a clean look.
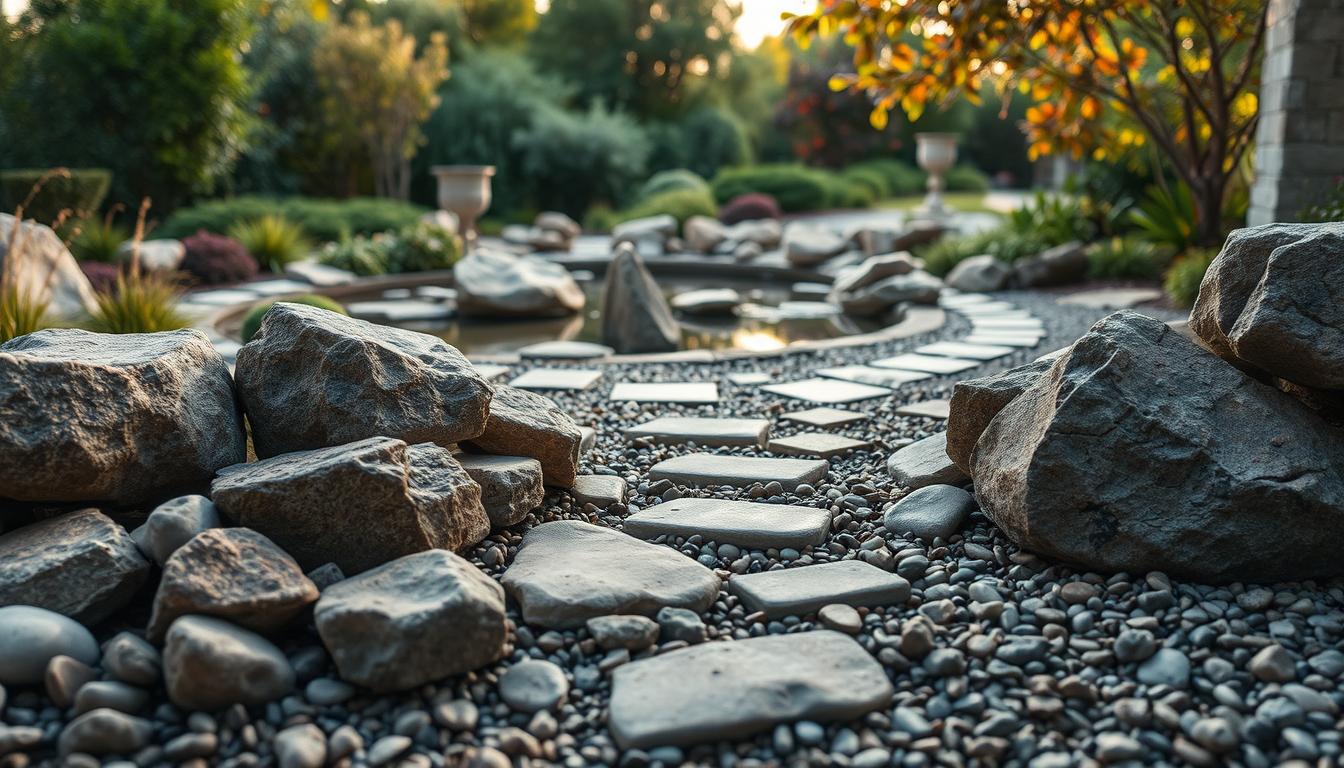
Selecting the Perfect Decorative Boulders for Your Project
Choosing the right decorative boulders is all about harmony. The colors and textures should match your home and surroundings. Large landscaping rocks can change a space, but picking them wisely is key.
Color and Texture Considerations
Make sure the stone colors match your home’s exterior. Warm tones like tan or red go well with rustic homes. Gray or black stones are perfect for modern homes. Remember, colors can look different in sunlight or artificial light.
Rough textures bring a rugged charm, while smooth surfaces offer a sleek look. Think about how these will look in your space.
Size and Shape Selection Guide
- Choose boulders that fit your space. A 3-5 foot-wide rock is good for small yards. Bigger rocks work well in larger areas.
- Round shapes can soften a garden, while angular stones add drama. Mix sizes and shapes for a natural look.
- Don’t overcrowd. Leave space for plants or walkways to keep things balanced.
Complementing Existing Landscape Features
“A boulder’s role is to enhance, not dominate.” – Sarah Green, Landscape Designer
Pair river rocks with water features and slate with native plants. Use local stone types to match your area’s look. Test arrangements before buying. Always ask for supplier photos to see how they’ll look.
Think about how partial burial affects visibility. Stones near patios should contrast with the paving. Keep material types consistent for a cohesive look.
Budget Planning for Natural Stone Landscaping
When planning a budget for large landscaping rocks, start by looking at material costs. Prices change based on the type of stone and how far it is from suppliers. For instance, granite is usually pricier than slate because of where it’s found and how it’s processed.
| Category | Small Project (50 sq ft) | Medium Project (150 sq ft) | Large Project (300+ sq ft) |
|---|---|---|---|
| landscape stone | $300–$700 | $900–$2,100 | $1,800–$4,200 |
| Delivery | $100–$150 | $150–$300 | $200–$500 |
| Installation | $200–$500 (DIY) | $500–$1,200 (pro labor) | $500–$1,200 (pro-labor) |
Buying landscape stone in bulk can save you money. Discounts start at 10+ tons. Local quarries can also lower transport costs. Using reclaimed materials from demolition sites can save up to 30%.
Phased projects help spread out costs over time. This way, you can still get quality without breaking the bank.
- Base layer gravel: $0.10–$0.25/sq ft
- Edging materials: $5–$15/linear ft
- Tools rental: $50–$150 per week
Investing in natural stone landscaping can save you money in the long run. Unlike mulch or pavers, these rocks don’t need much upkeep. A good budget plan balances initial costs with long-lasting beauty.
Essential Tools and Equipment for Rock Installation
For a successful landscaping rock installation, you need the right tools and safety gear. Whether you’re moving large landscaping rocks or setting up outdoor rock features, the right equipment is key. It makes the job both efficient and safe.
Safety Gear Requirements
Wearing protective gear is a must. Start with steel-toed boots to protect your feet from heavy objects. Then, wear heavy-duty gloves for better grip and safety glasses to protect your eyes. A back brace helps prevent strain when lifting. Make sure your clothes aren’t loose to avoid getting caught on equipment.
- Steel-toed boots – Foot protection from falling debris
- Heavy-duty gloves – Grip enhancement for rough surfaces
- Back braces – Support for repetitive lifting
Specialized Tools for Moving Large Rocks
Manual tools make handling large landscaping rocks easier:
- Rock bars – Leverage to shift heavy stones
- Dollies – Rollable platforms for transport
- Come-alongs – Ratchet-style tension tools for precise placement
Skid plates help prevent rocks from sinking into soft ground. Straps keep materials secure during transport.
Rental Options for Heavy Equipment
For big projects, renting heavy machinery is a smart choice. Mini-excavators start at $200/day, and skid steers cost $300–$500 daily. Many places offer delivery services. A pro tip:
“Always inspect rental equipment before use. Confirm operator training requirements to avoid hidden fees,”
Outdoor Landscaping Pros, a national firm, suggests this.
Renting is great for jobs that are too big for DIY. Never risk your safety by using tools you’re not trained to use.
Site Preparation Before Installing Large Landscaping Rocks
Starting with landscaping rock installation means careful site prep. First, remove all plants, debris, and small stones. Use a rototiller or shovel to loosen the topsoil. This makes a clean base for natural stone landscaping.
Do a compaction test to check soil stability. This prevents settling later on.
- Clear the area of plants, roots, and debris to avoid uneven surfaces.
- Excavate to depths matching project needs: 6–12 inches for pathways, 18–24 inches for large boulders.
- Mark underground utilities with flags using local 811 services to avoid damage.
- Add a base layer of gravel or sand (3–4 inches) to improve drainage and stability.
| Material | Use Case | Advantages |
|---|---|---|
| Crushed Gravel | Paths and retaining walls | Drains well, resists shifting |
| Pea Gravel | Rock groupings and focal points | Drains well resists shifting |
| Sand | Leveling surfaces | Ensures even distribution under rocks |
“Poor site prep is the #1 cause of sinking rocks and drainage failures in natural stone landscaping projects.” – National Association of Landscape Professionals
Drainage can be fixed by sloping soil away from structures. Install French drains if needed. Use barriers to protect plants or hardscaping during excavation.
Check local permits for projects that change drainage or need excavation over 10 cubic yards. Good prep keeps large landscaping rocks stable and looking good for years.
Step-by-Step Guide to Landscaping Rock Installation
Installing landscaping rocks needs careful planning and execution. This ensures they last long and are safe. Follow these steps to install large landscaping rocks correctly and avoid common mistakes.
Creating a Stable Base Foundation
Start by digging the area 4–6 inches deep. Use a plate compactor to pack the soil. Then, lay down geotextile fabric to stop weeds.
Add 2–3 inches of gravel or crushed stone, and compact each layer. This base keeps the rocks stable and prevents settling.
Safe Techniques for Positioning Heavy Rocks
Here are safe ways to move large landscaping rocks:
- Attach straps to rocks and use pry bars to avoid back strain.
- Work with a team for rocks over 100 pounds.
- Place rocks on the base material at a slight angle for drainage and looks.
Never lift heavy rocks alone. Improper handling can cause injury or uneven placement.
Ensuring Proper Drainage Around Rock Features
Use sloped surfaces to redirect water flow away from structures. Install French drains in areas with heavy rainfall to channel water underground. Check drainage regularly to prevent pooling near outdoor rock features. Avoid placing rocks directly over drainage outlets.
Note: Compacted soil and strategic grading are critical for long-term stability and aesthetics.
Landscaping Rock Delivery: What You Need to Know
Getting your landscaping rocks delivered right is key. It means they arrive safely and on time. Here’s how to make it smooth.
Scheduling and Coordination Tips
Start planning early for your rock delivery. Most places need 2–3 weeks’ notice. Try to schedule during off-peak seasons like summer or winter.
If bad weather is coming, make sure you can reschedule. Talk to your landscaper to make sure the delivery fits with their plans.
- Confirm lead times with suppliers
- Account for weather delays
- Sync with contractors’ schedules
Access Requirements for Delivery Vehicles
The size of the delivery vehicle depends on how much you ordered. Make sure to measure all entry points and overhead clearances before you order.
| Vehicle Type | Space Requirements |
|---|---|
| Dump Trucks | Minimum 12’ width and 14’ clearance |
| Cranes/Flatbeds | 20’x20’ open space for maneuvering |
Unloading and Placement Considerations
There are two ways to unload: tailgate drops or crane placement. Tailgate drops are quick but not as precise. Crane placement is more expensive but exact.
Have helpers or equipment ready to move the rocks right away. Talk to the driver about where you want them placed.
Pro tip: Clear walkways and mark hazardous areas beforehand
Use this checklist to double-check everything:
- Confirm delivery date and time
- Mark delivery zone boundaries
- Ensure utilities (power/water) are accessible
“Poor access planning causes 30% of delivery delays.” – National Landscape Supply Association
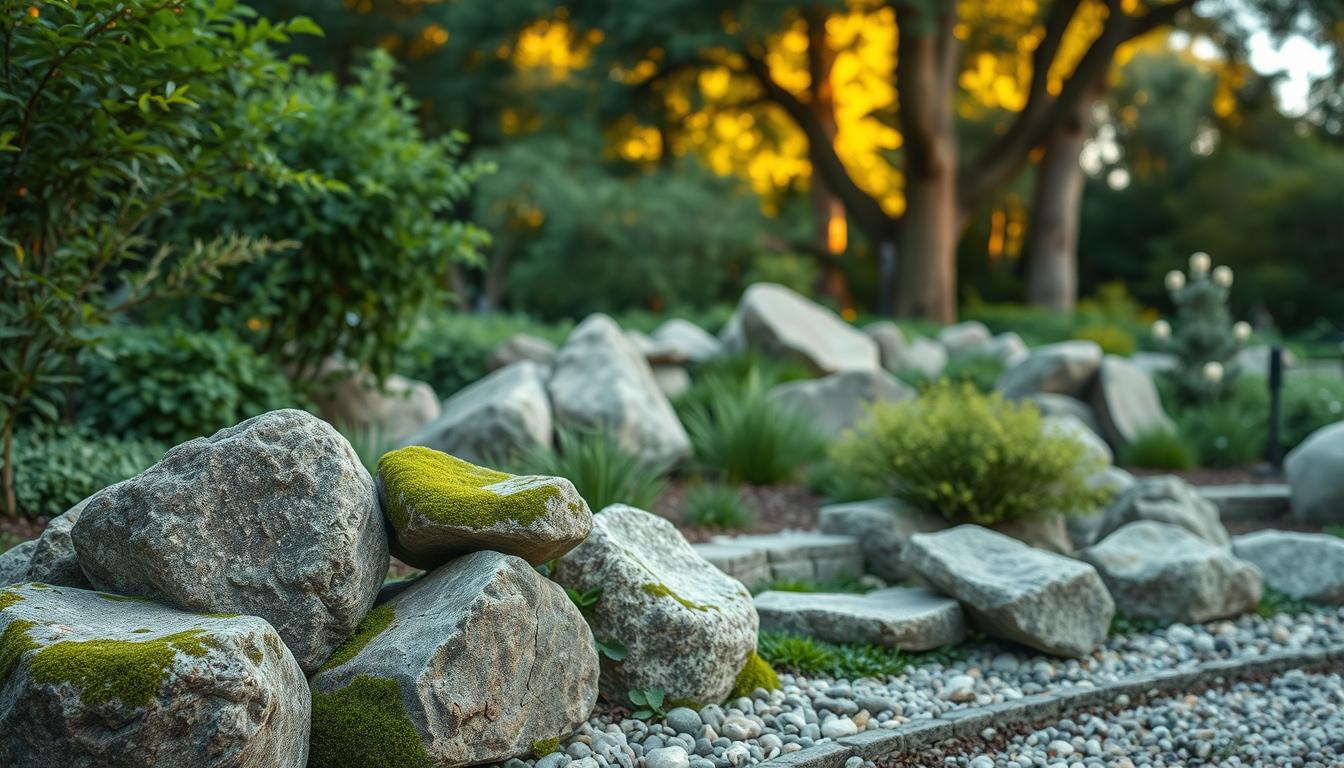
Maintaining the Beauty of Outdoor Rock Features
Outdoor rock features bring timeless beauty to gardens. But, they need occasional care to stay sharp. Natural stone landscaping is durable, yet debris and weather can change its look. Regular checks keep these elements looking great for years.
- Regular Cleaning: Use a soft brush or a low-pressure hose to clean dirt. For stubborn stains, test eco-friendly cleaners on a small area first.
- Vegetation Control: Pull weeds near rocks to prevent damage. Mulch around large landscaping rocks blocks weed growth without harming stone surfaces.
- Structural Checks: Inspect yearly for shifting. Realign rocks using a pry bar and recompact soil beneath if needed.
| Issue | Action |
|---|---|
| Algae/Moss Growth | Scrape with a brass brush or apply diluted oxygen bleach solution. |
| Powdery Residue | Wipe with a damp cloth; avoid harsh chemicals on porous stones like limestone. |
| Cracks or Chips | Fill minor damage with stone repair adhesive. Severe cracks may need professional evaluation. |
Patina—mildew or lichen—adds character to natural stone landscaping. Remove only if it stains surfaces. For pre-winter prep, clear drainage paths around features to prevent ice damage. A spring inspection ensures no frost heave displaced rocks. Proper upkeep preserves both aesthetics and function without demanding constant attention.
Seasonal Care for Boulder Landscaping
Seasons change, and so does the care for large landscaping rocks. Keep them looking great with these tips:
Winter Protection Strategies
Freeze-thaw cycles can harm stone joints. Here’s how to protect them:
- Check cracks in large landscaping rocks and seal gaps with silicone
- Wrap porous stones like sandstone with burlap to shield from moisture
- Use gravel mulch around bases to reduce frost heave pressure
Spring Cleaning and Inspection
After winter, check your rocks for stability:
- Scrape salt residues with soft brushes and rinse with water
- Re-level rocks shifted by frost using adjustable shims
- Inspect drainage paths to prevent pooling water
Managing Plant Growth Around Rocks
Invasive plants can mess with your rock setup. Here’s how to handle it:
- Apply mulch barriers 6 inches from rock bases
- Trim roots near stone surfaces with hand pruners
- Choose low-growing plants like thyme to avoid displacement
| Season | Action | Rock Garden Supplies Needed |
|---|---|---|
| Winter | Wrap vulnerable stones | Burlap, silicone sealant |
| Spring | Clean and reposition | Soft brushes, shims |
| Year-round | Plant management | Mulch, hand pruners |
Regular checks and the right supplies can make your boulder landscaping last longer. Small fixes now save big money later.
Combining Plants and Large Landscaping Rocks
Pairing plants with large landscaping rocks makes outdoor spaces vibrant and easy to care for. The right plants grow well in rocky areas, making your space look good and sustainable. Here’s how to mix plants and stone well.
Best Plant Species for Rock Gardens
Choose plants that do well in dry, rocky spots. For rock garden supplies in dry places like the Southwest, consider:
- Sedum spp. (stonecrop) for drought resistance
- Agave and cacti for Southwest zones
In the Northeast, think about:
- Juniper varieties like ‘Bar Harbor’
- Heuchera (coral bells) for color
Strategic Planting Techniques
Here are steps for planting success:
- Carve shallow soil pockets between rocks for root anchoring
- Use root barriers when planting near boulder landscaping ideas to prevent invasive spread
- Install drip irrigation to avoid overwatering
Creating Microclimates
“Rocks act as thermal regulators, storing daytime heat to protect roots at night.” – National Gardening Association
Boulders help create microclimates by:
- Retaining moisture in shaded crevices
- Providing frost protection for tender plants
Place plants that love moisture in shadowed rock beds. Put plants that love the sun in open areas.
Troubleshooting Common Issues with Rock Garden Supplies
Working with rock garden supplies can be tricky. Here are tips for common problems:
- Inconsistent stone quality: Look for landscape stone with the same color and strength. Ask for samples before buying a lot.
- Delivery delays: Make sure to confirm when your stuff will arrive. If it’s late, rent bins to store it. Using local quarries can speed things up.
- Tool shortages: Rent hydraulic lifts to move large landscaping rocks. Use sandbags to keep boulders steady when placing them.
- Material shortages: Use crushed gravel or recycled concrete for base layers. Landscape fabric can make mulch last longer between orders.
To fix cracked stones, apply silicone sealant. Mix small pebbles with your rock garden supplies to fill gaps. Don’t overload wheelbarrows—use dolly carts for heavy landscape stone to avoid straining tools.
Pro tip:
Always check if the materials are dry. Dry stones take less water, which means less chance of cracking in winter.
- Use geotextile mats to stop weeds from growing under rocks
- Keep extra stones in the shade to prevent fading from the sun
- Sharpen your cutting tools every week for clean cuts on big boulders
If you’re having trouble with supplies, compare prices with 3-4 suppliers. Choose modular designs for easier, step-by-step setup. Pick suppliers that let you return things within 90 days if the large landscaping rocks are bad.
Enhancing Your Landscape with Lighting Around Rocks
Lighting can turn large landscaping rocks into stunning night spots. You can pick from solar or wired options. Each has its own benefits.
Solar vs. Wired Lighting Options
- Solar: Great for easy care. New solar lights are brighter and last longer, perfect for small stones.
- Wired: Offers steady power for detailed designs. Wired systems let you control lights and connect to smart homes.
Creating Dramatic Nighttime Effects
Here’s how to make your rock features stand out at night:
- Uplighting: Place lights at the rock’s base for striking shadows.
- Grazing: Set lights near the rock to show off textures. LED strips are great here.
- Moonlighting: Hang lights above to create a soft, moon-like glow on patios.
Installation Tips for Rock Feature Lighting
Follow these tips for long-lasting lighting:
- Bury cables 12 inches deep to avoid frost damage.
- Choose 3000K-4000K color temps for a warm, natural look on sandstone or granite.
- Use waterproof boxes for outdoor use.
Pair lights with motion sensors to save 30% on energy. Also, check local light pollution rules for a good look and to save energy.
Conclusion: Creating a Timeless Landscape with Natural Stone
Natural stone landscaping is a lasting choice for outdoor spaces. It combines beauty with practicality. Large landscaping rocks are durable, lasting through weather and time.
They need little care, making them a joy to have. This means more time to enjoy your outdoor space.
Start small to see big changes. A few well-placed stones can make a big difference. They blend with plants and other features, creating a beautiful space.
Quality materials and careful planning are key. The National Association of Landscape Professionals shows how stone boosts value and sustainability. Start with a small project and grow as you learn.
With the right care, these elements will last, adding beauty with each passing season.
FAQ
What are the benefits of using large landscaping rocks in my garden?
Large landscaping rocks save water and need little care. They make your outdoor space look great. They also highlight plants and improve your garden’s natural beauty.
How do I choose the right type of landscape stone for my project?
Choosing the right stones depends on color, texture, size, and use. Granite, limestone, and sandstone are popular. They fit different needs, from adding beauty to building walls.
Can I install large landscaping rocks myself, or should I hire a professional?
Installing large rocks yourself can be tough because of their weight. A pro might be better if you’re not up for the task or if it’s a big job.
How do I calculate how many rocks I need for my landscaping project?
To figure out how many rocks you need, measure the area and think about how full you want it. Use square footage and rock size to get the right amount without too much.
What are some tips for maintaining outdoor rock features?
Keep your outdoor rocks clean and check for moss or algae. Watch for stones that move or settle. Regular checks keep your landscape looking good and safe.
What should I consider when planning for landscaping rock delivery?
Plan delivery around your project’s schedule and make sure vehicles can get there. Also, tell your supplier about your property to make delivery easier.
Are there eco-friendly options for landscape stone?
Yes, many natural stones are good for the planet. They use less water and need less care than other landscaping. Buying local stones also helps the environment.
How can I incorporate plants with large landscaping rocks?
Planting with large rocks makes stunning gardens. Pick plants that don’t need much water and plant them in a way that looks good with the rocks. This makes your garden beautiful and healthy.
What tools do I need for landscaping rock installation?
You’ll need safety gear, rock bars, dollies, and maybe big equipment for big jobs. The right tools make the job safer and easier.
How do I handle common issues with rock garden supplies?
Be ready for quality issues, delivery delays, and stock problems. Working with reliable suppliers and having backup plans helps solve these problems.