The Ultimate Fleabane 101: Plant Maintenance Checklist for Home Gardeners
Table of Contents
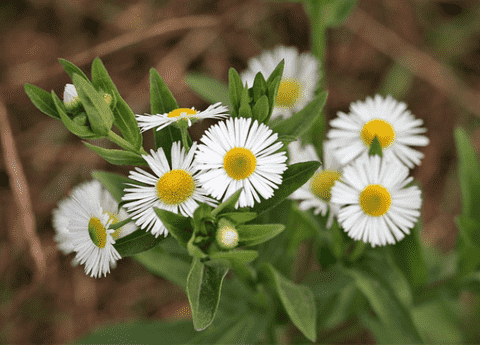
For garden enthusiasts and home gardeners eager to cultivate a vibrant and resilient flower bed, mastering the art of fleabane care is a rewarding endeavor. Known for its daisy-like blooms and adaptability, the fleabane plant is a delightful addition to any garden setting. Growing fleabane requires a few essential plant maintenance practices to ensure lush growth and a long-lasting display of colorful flowers. In this guide, we’ll cover comprehensive flower gardening tips to help you nurture these charming blooms, transforming your garden into a picturesque haven of beauty and tranquility.
Essential Fleabane Care Tips
Choosing the Right Location
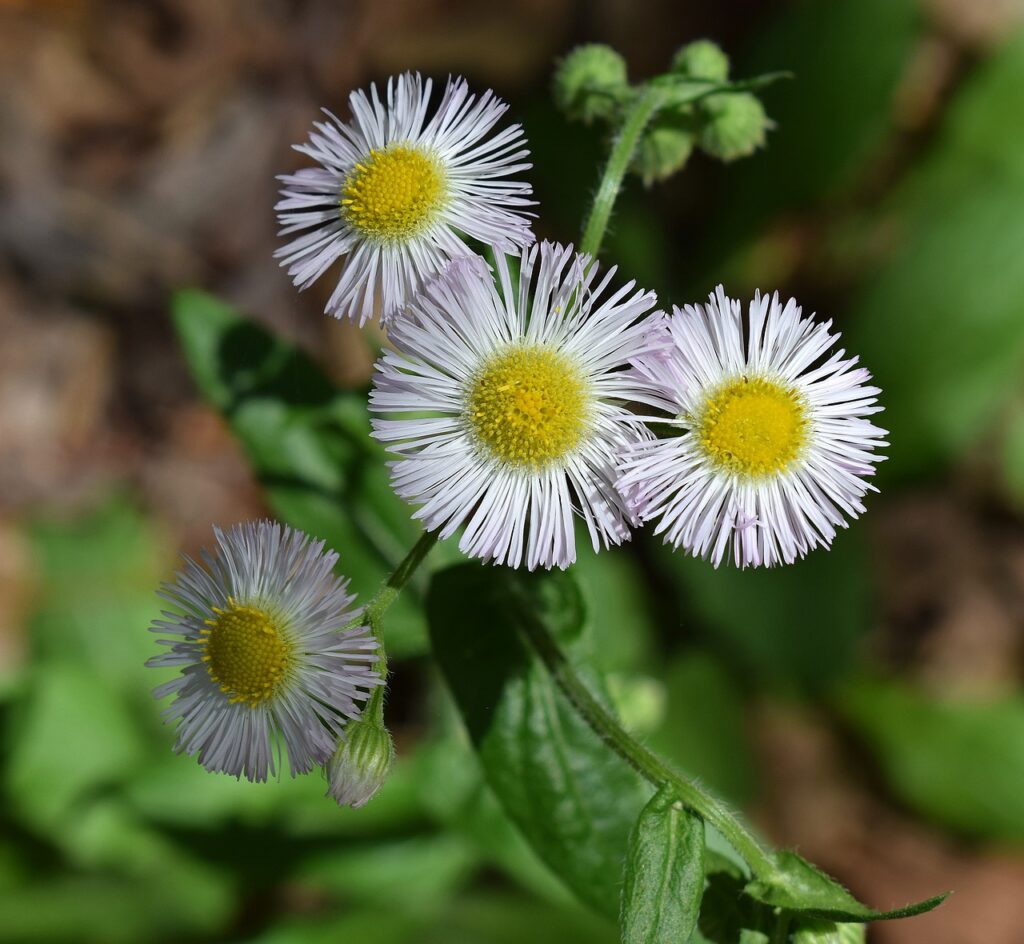
Selecting the ideal spot for your fleabane plant plays a crucial role in its growth and overall health. Fleabane thrives in areas that receive full sun to partial shade, making it suitable for a variety of garden settings. When choosing a location, consider the plant’s preference for well-drained soil, as this prevents root rot and promotes robust growth.If your garden soil is heavy or clay-like, try enhancing it with organic matter to improve drainage. Additionally, ensure the location provides enough space for the fleabane to spread, as its daisy-like blooms can cover a generous area. By carefully selecting the right spot, you set the foundation for successful growing fleabane, ensuring a vibrant and colorful display throughout the flowering season. With these flower gardening tips in mind, your fleabane plant will flourish, adding charm and beauty to your garden.
Ideal Soil and Watering Needs
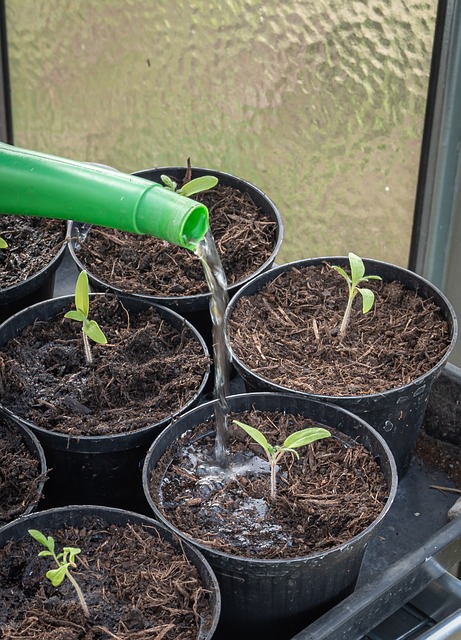
To ensure your fleabane plant thrives, it’s important to understand its soil and watering requirements. Fleabane prefers well-drained soil, which helps prevent waterlogging and root rot. Sandy or loamy soil types are optimal, as they allow for efficient drainage while retaining enough moisture to sustain the plant. When it comes to watering, fleabane is relatively drought-tolerant once established. However, it’s crucial to keep the soil consistently moist during the initial growing phase. Water your fleabane plant thoroughly but allow the top inch of soil to dry out between waterings. It’s important to find the right balance, as overwatering can cause root problems. Applying mulch around the base of the plant helps conserve moisture and maintain a stable soil temperature. By paying attention to these plant maintenance essentials, you can provide the ideal conditions for growing fleabane, ensuring a flourishing and healthy addition to your garden.
Light and Temperature Requirements
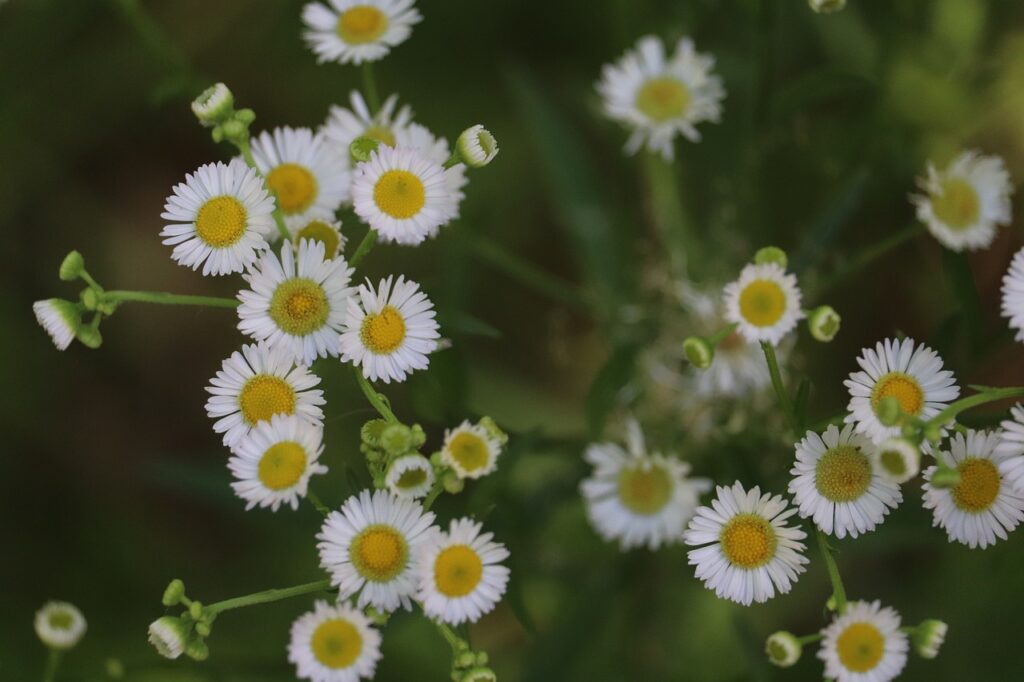
Fleabane plants are versatile and can adapt to a range of light conditions, but they flourish best under full sun to partial shade. Providing your fleabane with ample sunlight encourages vigorous growth and vibrant blooms. In regions with extremely hot climates, afternoon shade can help protect the plant from scorching. This adaptability makes fleabane a suitable choice for various garden environments. Regarding temperature, fleabane is hardy and can tolerate a wide range of temperatures, from cool to moderately warm. However, during severe frost, it may require some protection or mulching to prevent damage. Despite its tolerance, fleabane appreciates a stable environment and performs optimally when temperature fluctuations are minimal. By understanding these light and temperature needs, you can ensure your fleabane plant remains healthy and continues to be a stunning focal point in your flower gardening efforts.
Growing Fleabane Successfully

Planting Techniques for Beginners
Starting your fleabane plant journey is straightforward with a few basic planting techniques. Begin by selecting a healthy seedling or seeds from a reputable source. For seedlings, dig a hole slightly larger than the root ball, ensuring the plant is level with the surrounding soil. Gently backfill the hole, firming the soil around the base to eliminate air pockets. Water thoroughly to settle the soil and support initial root establishment. If planting seeds, scatter them over well-prepared soil and lightly cover them with a thin layer of soil or compost. Keep the soil consistently moist until germination occurs, which typically takes a couple of weeks. Ensure adequate spacing between plants, as fleabane can spread and fill the garden space. By following these simple planting techniques, beginners can confidently embark on their journey to growing fleabane, creating a beautiful and resilient garden space with minimal effort.
Seasonal Growth and Maintenance
Understanding fleabane’s seasonal growth patterns is key to effective plant maintenance. In spring, as temperatures rise, fleabane enters its active growth phase. During this time, ensure that the soil remains moist but not waterlogged, as the plant develops its foliage and prepares for blooming. A well-balanced, slow-release fertilizer can promote strong, healthy growth. As summer approaches, expect a vibrant display of daisy-like blooms. Regular deadheading of spent flowers will encourage continuous flowering and maintain the plant’s aesthetic appeal. In autumn, as the growth slows, it’s essential to reduce watering and cease fertilization to allow the plant to prepare for dormancy. Cutting back the stems can help tidy the garden and promote healthy new growth in the following season. Winter care involves protecting the plant from severe frost with mulch or a protective cover. By aligning your efforts with Fleabane’s seasonal needs, you can ensure successful and sustained growth.
Common Pests and Solutions
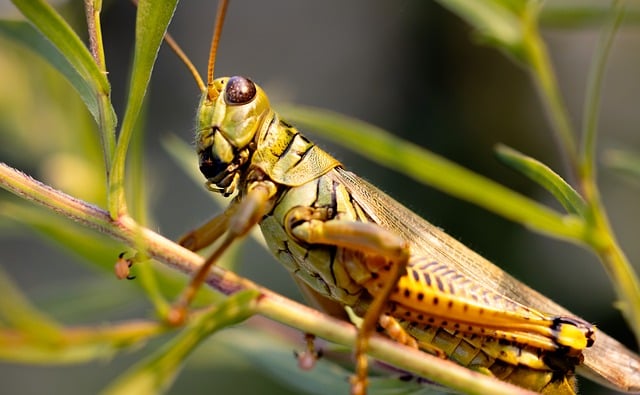
Fleabane plants, while generally hardy, can occasionally fall prey to common garden pests. Aphids, spider mites, and caterpillars are the most frequent offenders, feeding on leaves and flowers. Spotting these pests early is key to controlling them successfully. Regularly inspect your fleabane for any signs of infestation, such as discolored or misshapen leaves. For aphid and spider mite control, a strong spray of water can dislodge them from the plant. Alternatively, insecticidal soap or neem oil can provide a non-toxic solution. For caterpillars, manually removing them can be an effective strategy. Bringing in beneficial insects like ladybugs and lacewings can naturally keep pest populations under control. Maintaining plant health through adequate watering and nutrition reduces vulnerability to pest attacks. By proactively managing these issues, you ensure that your fleabane plant remains vibrant and continues to grace your garden with its delightful blooms.
Advanced Flower Gardening Tips
Pruning and Deadheading Strategies
Pruning and deadheading are essential strategies for maintaining the health and appearance of your fleabane plant. Regular deadheading, or the removal of spent blooms, encourages the plant to produce more flowers, extending the blooming period. Use clean, sharp scissors or pruning shears to cut the flower stem just above the first set of healthy leaves. This practice not only enhances the plant’s visual appeal but also prevents the formation of seeds, channeling energy back into growth and flowering. Pruning, on the other hand, involves cutting back overgrown or damaged stems to promote a more compact and bushier growth habit. For fleabane, a light prune after the main flowering season in late summer can help maintain its shape and vigor. Properly timed and executed pruning and deadheading can significantly boost your plant’s performance, ensuring a lush and thriving garden display well into the growing season.
Fertilization and Nutrient Management
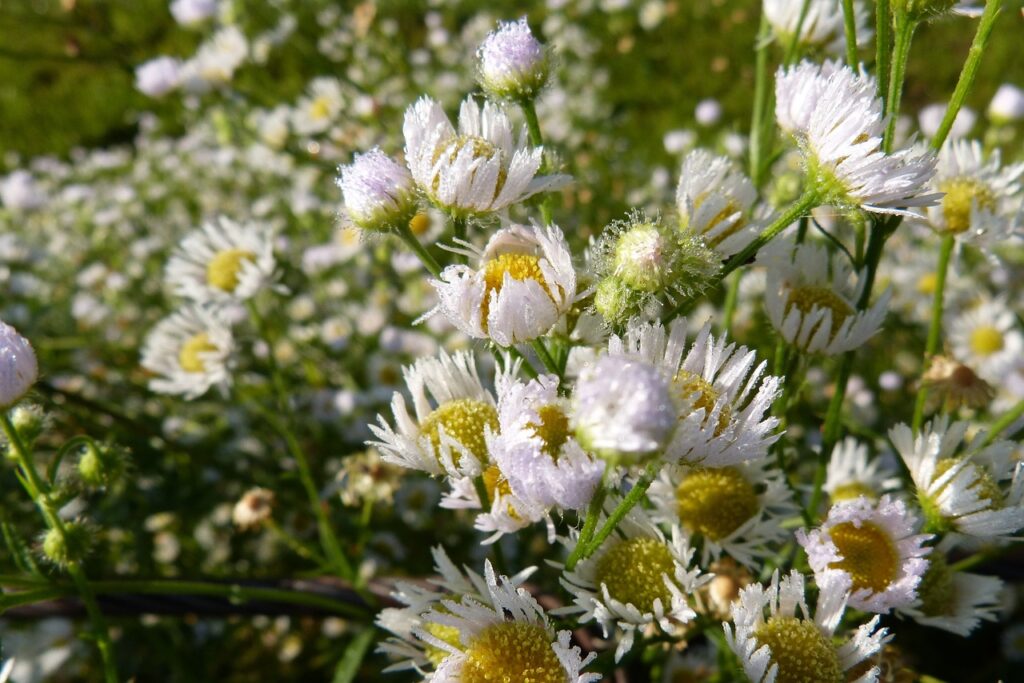
Effective fertilization and nutrient management are crucial for the optimal growth of your fleabane plant. While fleabane is not particularly nutrient-demanding, providing the right balance of nutrients can enhance its flowering and overall health. At the beginning of the growing season, apply a balanced, slow-release fertilizer to promote vigorous growth. A formula with equal parts nitrogen, phosphorus, and potassium (such as a 10-10-10 mix) works well. Avoid over-fertilizing, as it may cause excessive leaf growth instead of flowers. Mid-season, a mild liquid fertilizer can be used to give a boost if necessary. Additionally, incorporating organic matter, such as compost, into the soil can improve nutrient availability and soil health. Mulching not only conserves moisture but also slowly adds nutrients as it breaks down. By managing fertilization thoughtfully, you can support a robust and floriferous fleabane plant throughout the season.
Troubleshooting Common Issues
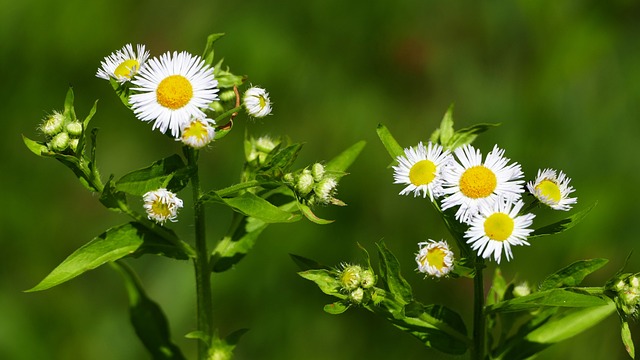
Even with attentive care, fleabane plants can encounter a few common issues. Yellowing leaves often signal overwatering or poor drainage. To remedy this, ensure the soil is well-drained and adjust your watering schedule to prevent waterlogged conditions. If your fleabane plant is not flowering as expected, inadequate sunlight might be the culprit. Ensure the plant receives sufficient sunlight, ideally full sun to partial shade, to encourage blooming. Additionally, excessive fertilization can lead to lush foliage but few flowers; reducing fertilizer application can help redirect energy toward flowering. Aphids and spider mites can also become problematic pests. Regular inspection and prompt treatment with insecticidal soap can manage these pests effectively. Lastly, if you notice powdery mildew, improve air circulation by spacing plants properly and avoiding overhead watering. By addressing these common issues promptly, you can maintain a healthy and beautiful fleabane plant in your garden.

